- Best for
- Small kitchens and rentals
- Approach
- A zone-by-zone reset
- Start here
- Measure before buying
A small kitchen does not need to hold less of your life. It needs each useful item to have a sensible home. The most reliable way to get there is to organize in the order you use the room: measure the space, remove what no longer belongs, create working zones and only then choose storage.
This guide walks through that process without assuming you can renovate or replace cabinets. Use it as a whole-kitchen reset, or complete one section at a time.
The short version
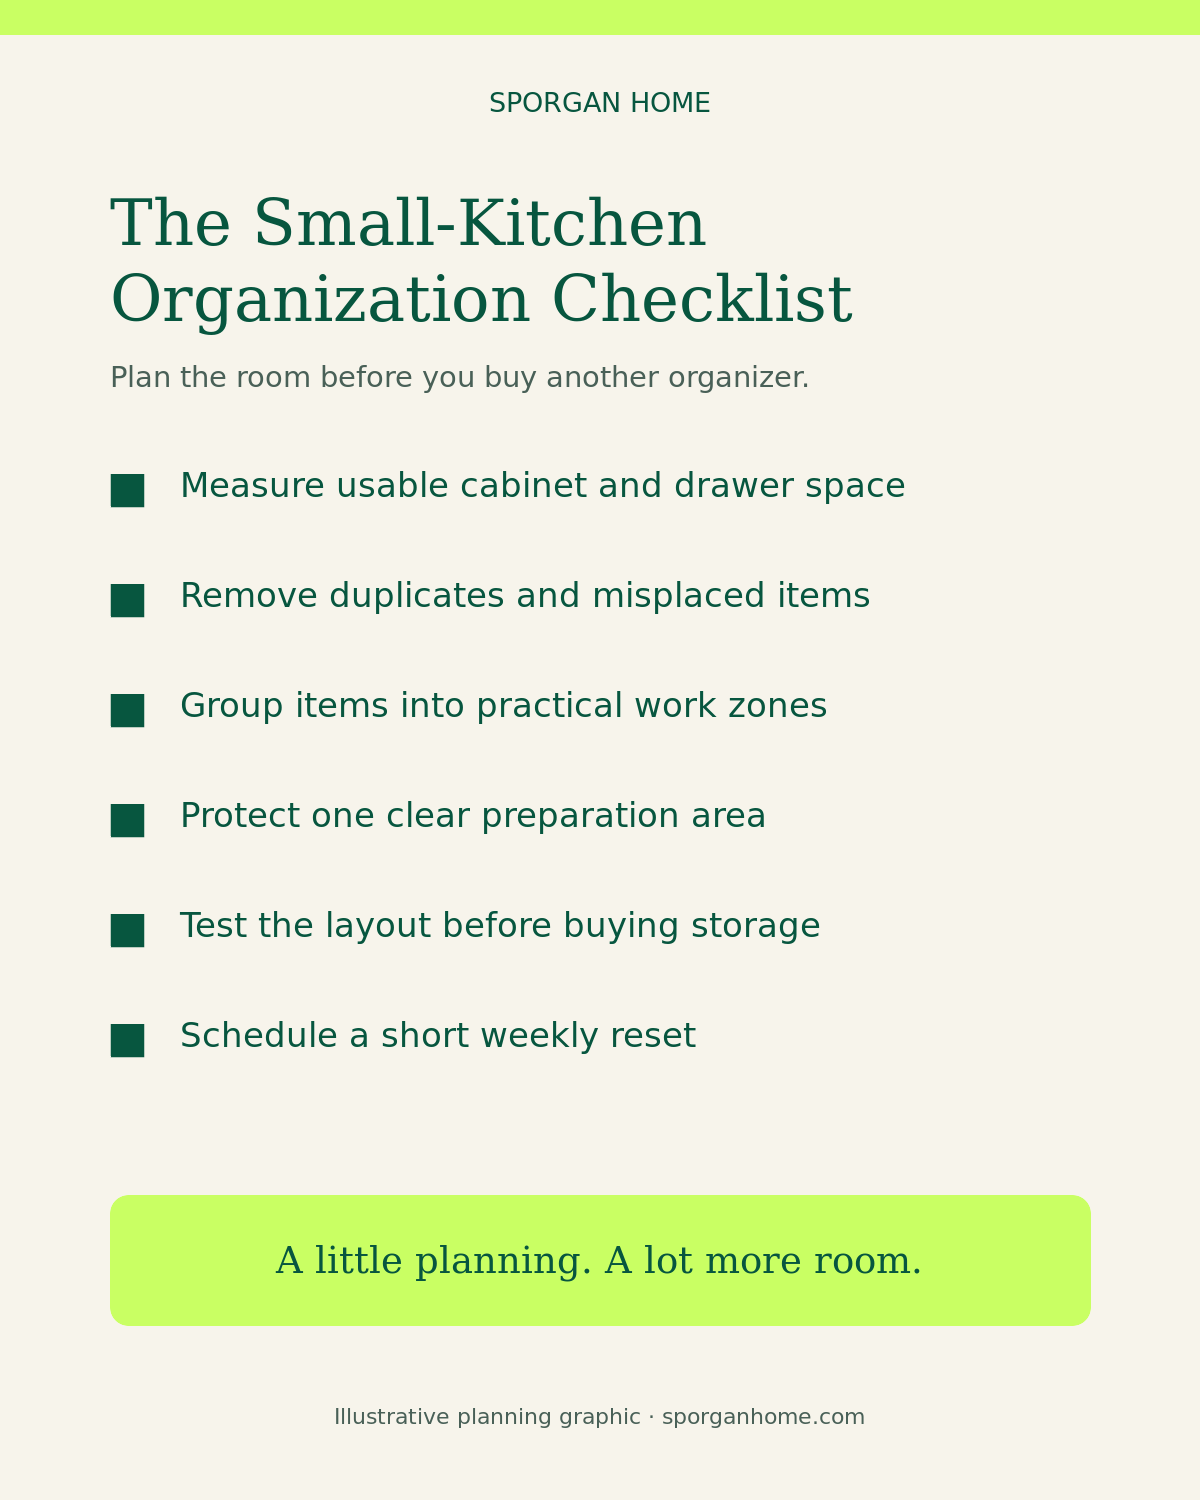
- Measure usable storage, not just the outside of each cabinet.
- Keep items that support the same task together.
- Give the easiest-to-reach space to things used most often.
- Protect one clear preparation area on the counter.
- Test the arrangement before buying more organizers.
Every Sporgan kitchen guide, by problem
Jump straight to the part of your kitchen that is not working. Each guide follows the same order as this page: measure, clear, zone, then store.
Drawers
Pantry, fridge and food storage
Cabinets
- How to Organize a Corner Kitchen Cabinet Without Losing Things
- How to Organize Cabinets Above the Fridge Safely
- Storage Above Kitchen Cabinets: What Works and What to Avoid
- Under-Kitchen-Sink Organization for Small and Rental Kitchens
- How to Organize Coffee Mugs in a Small Cabinet
- Baking Pan Organization for Small Kitchens
- Should You Line Kitchen Cabinets and Drawers?
Counters and daily use
Renter-friendly kitchen changes
Plan it with a free tool
1. Measure the space you can actually use
Begin with the inside of every cabinet and drawer. Record width, height and depth, then subtract space taken by hinges, pipes, shelf supports and door frames. Open nearby drawers and appliance doors so you can see where handles collide or movement becomes tight.
Also measure the counter area you want to keep open. This gives you a boundary: any storage idea that makes that working area smaller needs to earn its place.
| Area | What to measure | What to check |
|---|---|---|
| Cabinets | Usable width, depth and shelf height | Hinges, pipes and adjustable shelf positions |
| Drawers | Inside width, depth and height | Whether a divider blocks closure |
| Walls and doors | Clear width and opening space | Rental rules, fixing method and door swing |
| Counters | Continuous preparation area | Heat, water, sockets and appliance ventilation |
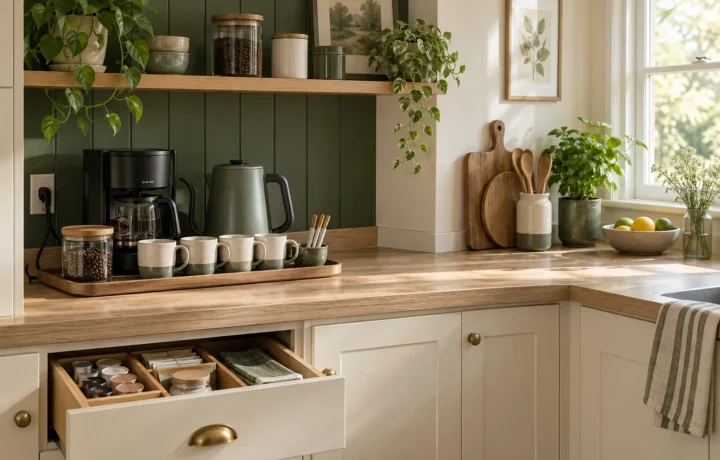
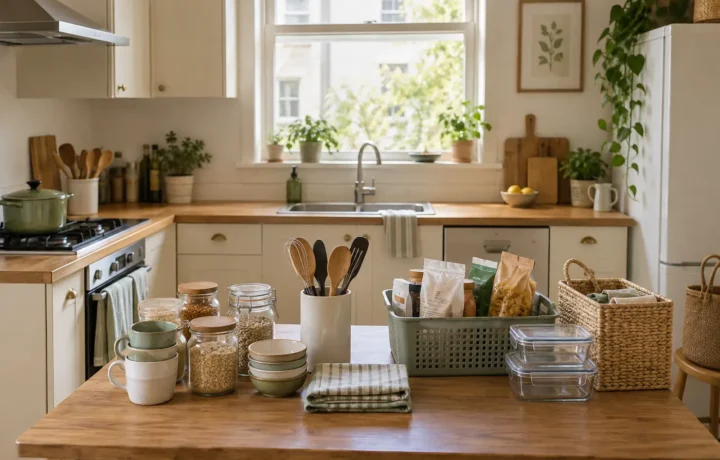
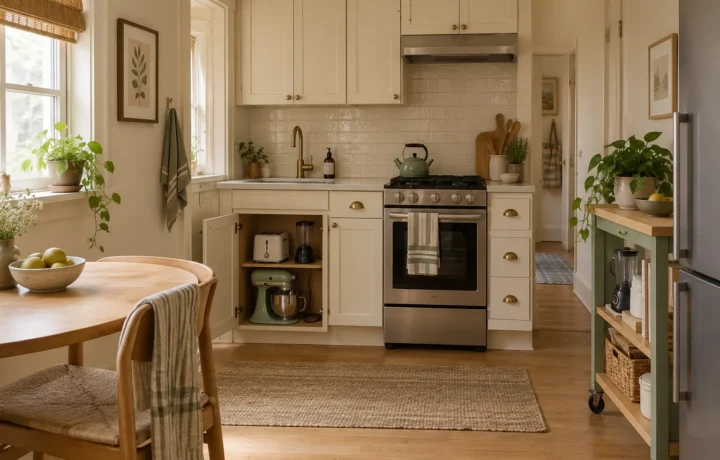
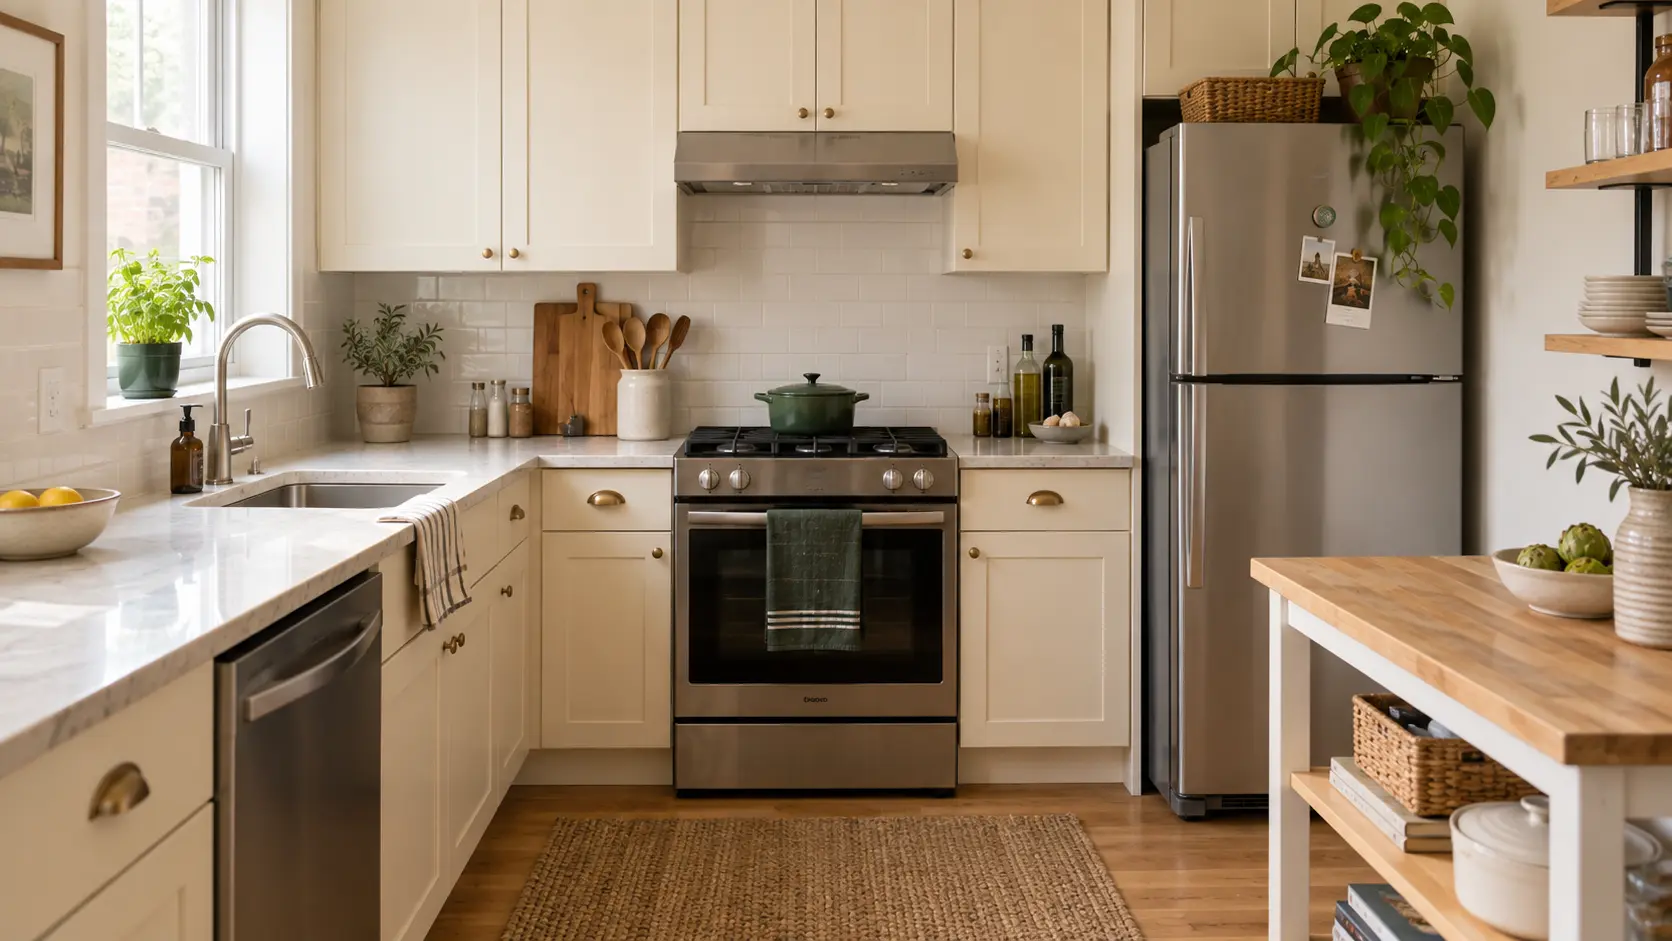
Editorial images in this guide were purpose-created for Sporgan Home and are illustrative. They do not depict the author's home, a client project or a product test.
2. Declutter before choosing containers
Storage products can make a full cabinet look neater without making it easier to use. First, work through one category at a time: mugs, cookware, food containers, baking tools, cleaning supplies and pantry ingredients. Keep the session small enough that you can finish it.
- Keep: items used regularly and items with a clear occasional purpose.
- Move: belongings that are useful but do not need to live in the kitchen.
- Repair or replace: damaged essentials, after checking whether repair is practical.
- Donate or dispose: duplicates and unused items, following local guidance for safe disposal.
Do not empty the entire kitchen unless you have time to complete it. A finished drawer is more useful than a room full of half-sorted piles.
3. Build five working kitchen zones
A zone is simply a group of items stored near the task they support. The right zones depend on your layout, but five are a useful starting point.
| Zone | What belongs there | Best location |
|---|---|---|
| Preparation | Boards, knives, mixing bowls and frequently used tools | Beside the clearest counter area |
| Cooking | Pans, utensils, oils and everyday seasonings | Near the cooker, within safe reach |
| Cleaning | Dishwashing and cleaning supplies | Near the sink, away from food |
| Food storage | Dry ingredients, snacks and food containers | Together where labels and dates stay visible |
| Landing | Groceries or one daily item awaiting use | A defined spot that does not take over the prep zone |
You do not need five separate cabinets. In a very small kitchen, one drawer can support preparation while half a cabinet supports cooking. The goal is to reduce unnecessary movement and make putting things away obvious.
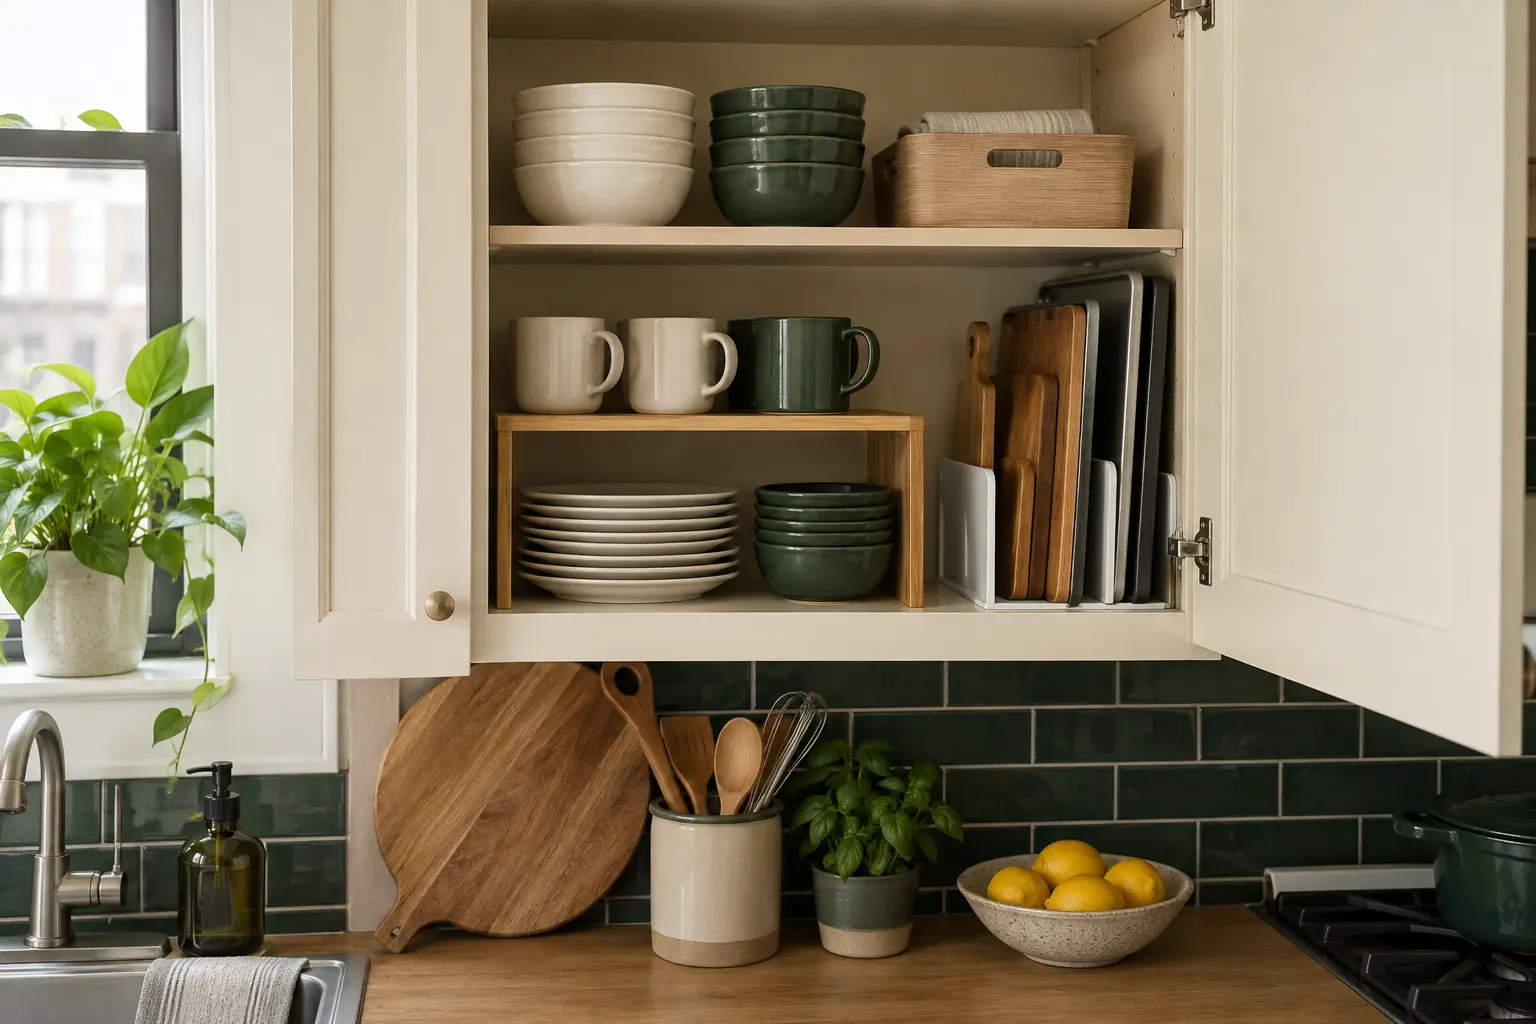
4. Organize cabinets by reach and frequency
Put everyday items between comfortable waist and eye level when the layout allows. Reserve very high or deep storage for lighter, occasional items that can be reached safely. Heavy cookware is usually easier to control from a lower shelf than from above shoulder height.
- Use shelf height. An adjustable shelf or stable shelf riser can separate short stacks, but confirm dimensions and load limits first.
- Keep small packets contained. A shallow bin can hold one category and slide forward, provided you can see or label its contents.
- Make deep cabinets one layer easier. A tray or turntable may improve access when it fits fully and turns without hitting the door.
- Store vertically where it helps. Boards and trays can be easier to select from a stable divider than from the bottom of a pile.
Avoid filling every gap. A little free space lets you remove one item without unloading the entire shelf and leaves room for normal changes in groceries.
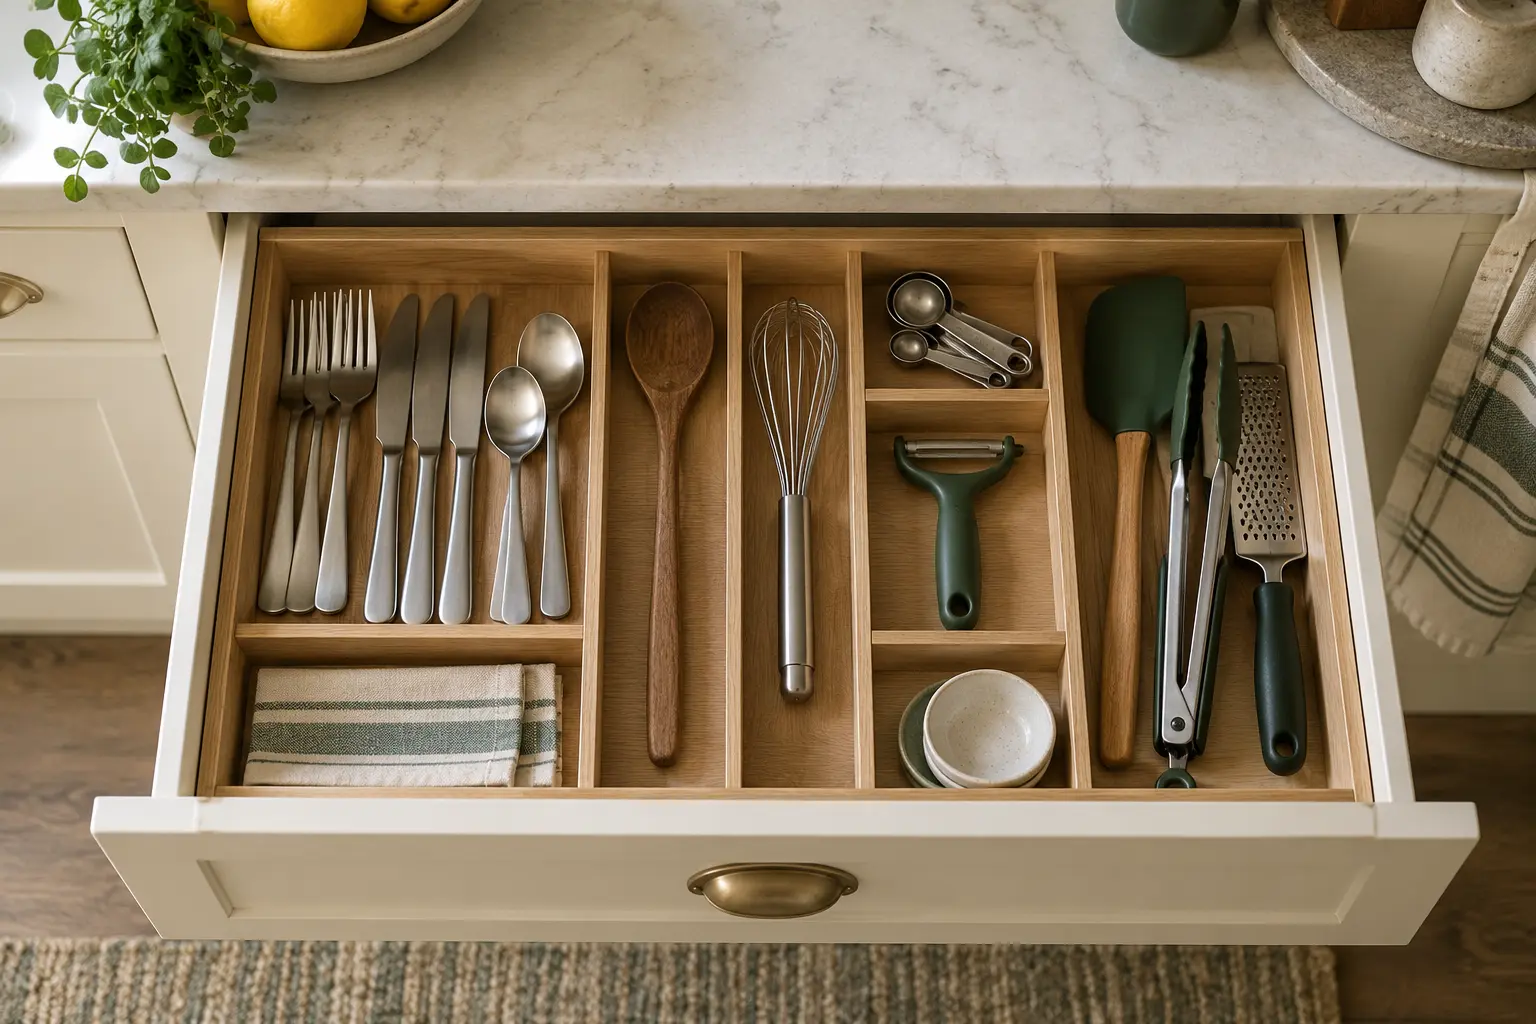
5. Make drawers easy to see and reset
Drawer organization works best when each item has a visible boundary. Before buying an insert, place utensils into broad groups and remove tools that duplicate the same job. Measure the internal drawer height as well as its width and depth.
Use a divider only when it solves a real mixing problem. Long cooking tools may work better laid in one direction; smaller tools may need two or three simple sections. Leave enough room to lift items out without catching the drawer above.
6. Use vertical and overlooked space carefully
When cabinets are limited, look at the unused height within a shelf, the side of a suitable cabinet and the back of a door. These areas can help, but they also introduce clearance, fixing and weight questions.
- Confirm that an added shelf or basket does not stop the door closing.
- Keep storage clear of heat, water, switches and appliance ventilation.
- Follow manufacturer instructions for load limits and wall or furniture fixing.
- Ask the property owner before drilling or attaching products in a rental.
The space above a refrigerator or cabinet is not automatically suitable storage. Check heat, ventilation, safe reach and whether items could fall. If those conditions are not clear, choose a lower location.
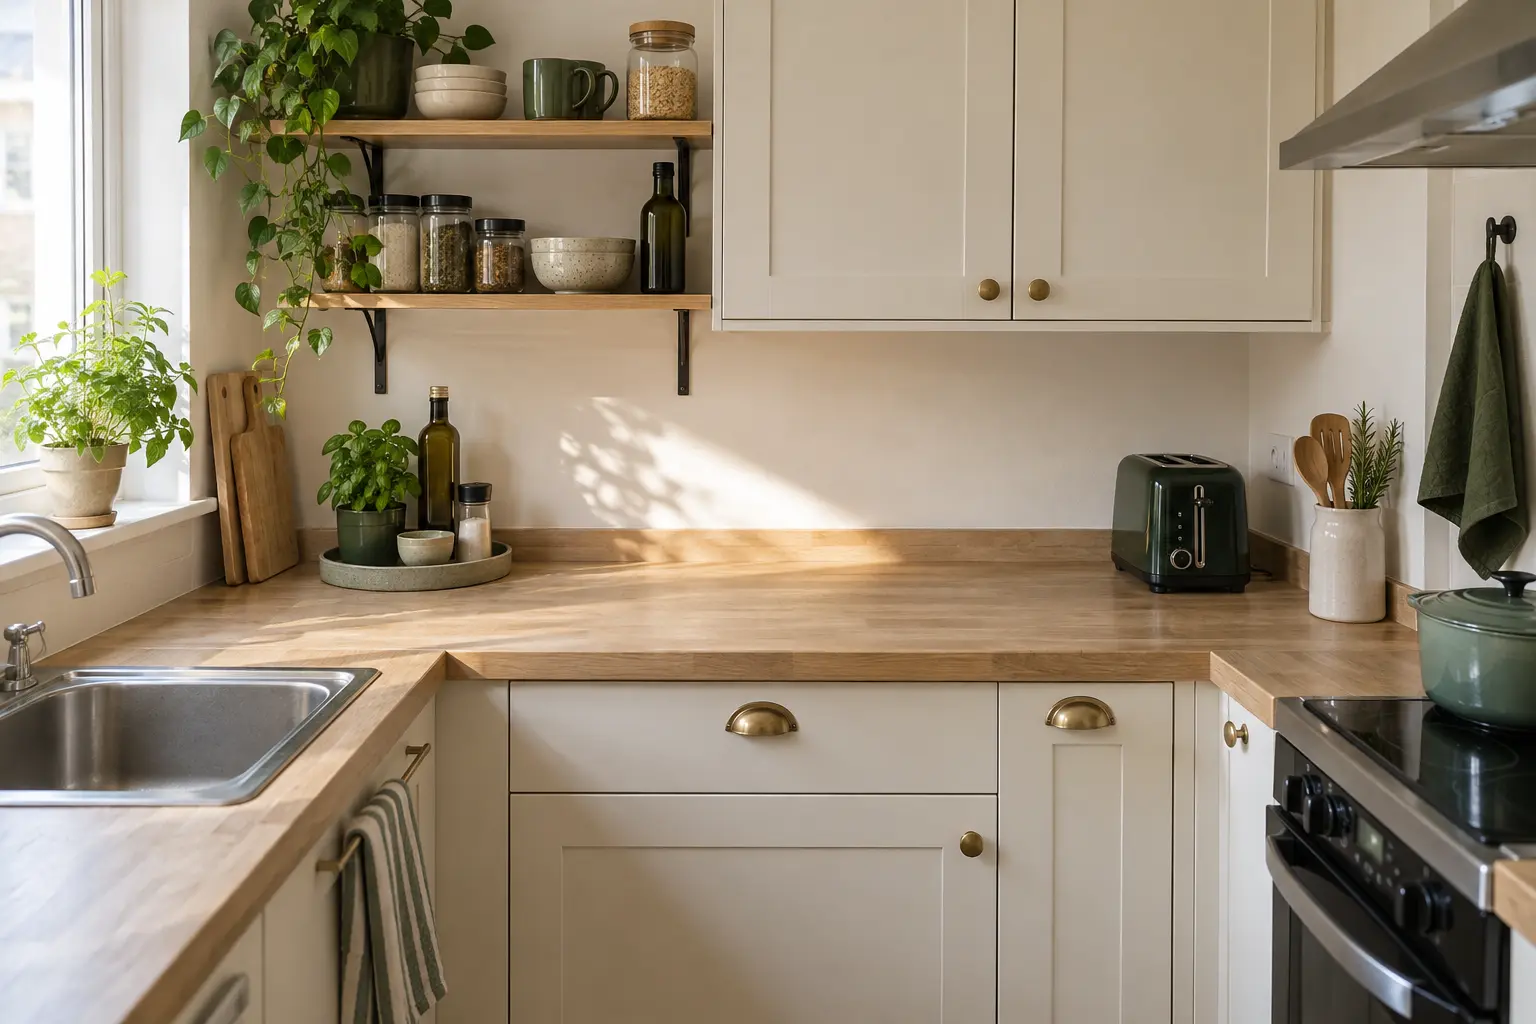
7. Protect one clear counter zone
A completely empty counter is not necessary. A useful counter has enough uninterrupted room for the task you do most often. Start by removing items that belong elsewhere, then decide which appliances genuinely earn permanent space.
- Keep frequently used appliances near an appropriate socket, following their operating and ventilation instructions.
- Store occasional appliances only where they can be lifted safely.
- Group one or two daily items on a washable tray if that makes cleaning easier.
- Do not use the preparation area as permanent overflow storage.
8. Organize a small kitchen without a pantry
If your kitchen has no pantry, give food one defined cabinet, shelf unit or combination of small areas. Group ingredients by routine, keep labels visible and avoid buying containers until you know the usable dimensions. Our small-kitchen-without-a-pantry guide covers that problem in detail without turning this whole-kitchen plan into a pantry article.
9. Choose renter-friendly changes that can move
Start with reversible changes such as adjustable shelves, appropriately sized bins and freestanding storage. “Removable” on a label does not guarantee that an adhesive product will suit every painted or finished surface. Check your rental agreement and the product instructions before attaching anything.
Whenever possible, buy one organizer and test it for a week. A system that fits this kitchen but cannot adapt to a future home may not be the best use of a limited budget. Browse more renter-friendly organizing ideas before making permanent changes.
10. Keep it working with a 20-minute weekly reset
A small kitchen can look crowded quickly because every misplaced item is visible. A short weekly reset is usually more realistic than waiting for another full reorganization.
- Return items that belong in another room.
- Put tools and ingredients back into their working zones.
- Check food dates and note ingredients that need using.
- Clear and clean the preparation area.
- Notice where clutter returns; adjust that location instead of blaming the routine.
Plan before you shop
Use the free Small Space Organizing Planner to record measurements, list what needs a home and plan each zone before buying storage.
Frequently asked questions
What is the best way to organize a very small kitchen?
Organize around the tasks you perform most often. Keep everyday tools near their point of use, give the easiest storage to frequently used items and protect one clear counter area. Measure before adding organizers.
How can I organize a small kitchen with few cabinets?
First reduce duplicates and move non-kitchen belongings elsewhere. Then use suitable shelf height, drawers and safe vertical space. If extra furniture is needed, confirm floor space, stability, door clearance and any anchoring requirement.
Should kitchen counters be completely empty?
No. Keep the items that genuinely support daily tasks, but preserve enough uninterrupted counter space for food preparation and cleaning. Store occasional items elsewhere when practical.
What should I buy first to organize a small kitchen?
Begin with nothing. Measure, declutter and test a zone using containers you already own. Buy an organizer only when you can name the problem it solves and confirm that its dimensions, material and installation method suit the space.
A small kitchen should be simple to put back together
The best result is not the kitchen with the most containers. It is the kitchen where the next action feels obvious: the pan is near the cooker, the board is near the preparation area and each item can return home without moving three others. Start with one zone, use it for a week and adjust from real life.