- Best for
- Renters comparing reversible backsplash options
- Approach
- Test the real surface before covering a wall
- Start here
- Measure wall areas, outlets and heat clearances
A renter-friendly kitchen backsplash can change the visual rhythm of a small kitchen, but “removable” is not a universal promise. Paint age, wall texture, grease, moisture, heat, adhesive chemistry and the length of installation all affect how a temporary material behaves. The safest plan starts with the lease and the real wall rather than a product photograph.
This guide compares reversible approaches without promising damage-free removal. It belongs beside our broader renter-friendly kitchen upgrades and small-kitchen organization plan: improve what is useful, keep the original surface recoverable and preserve access to anything that needs inspection.
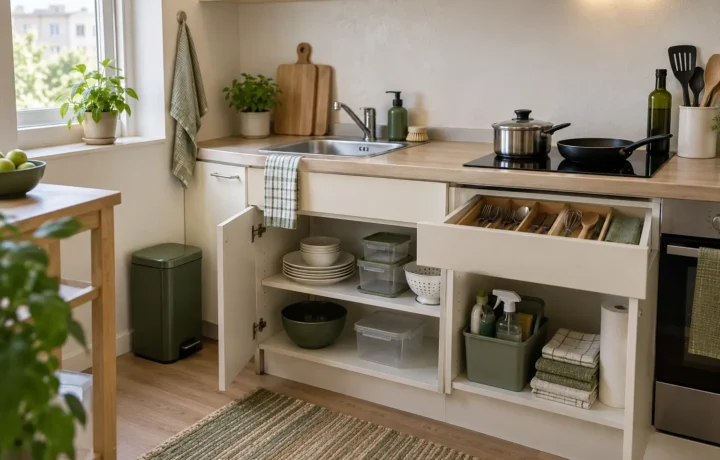
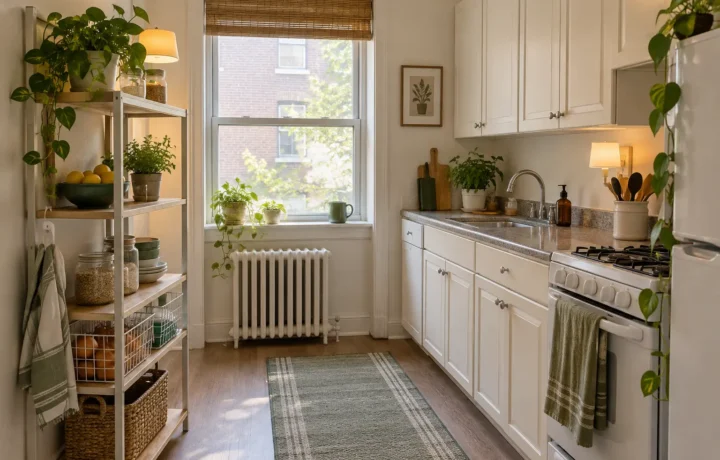
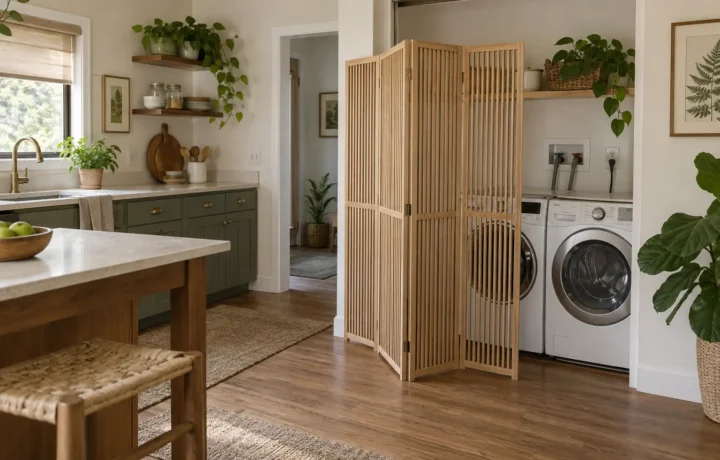
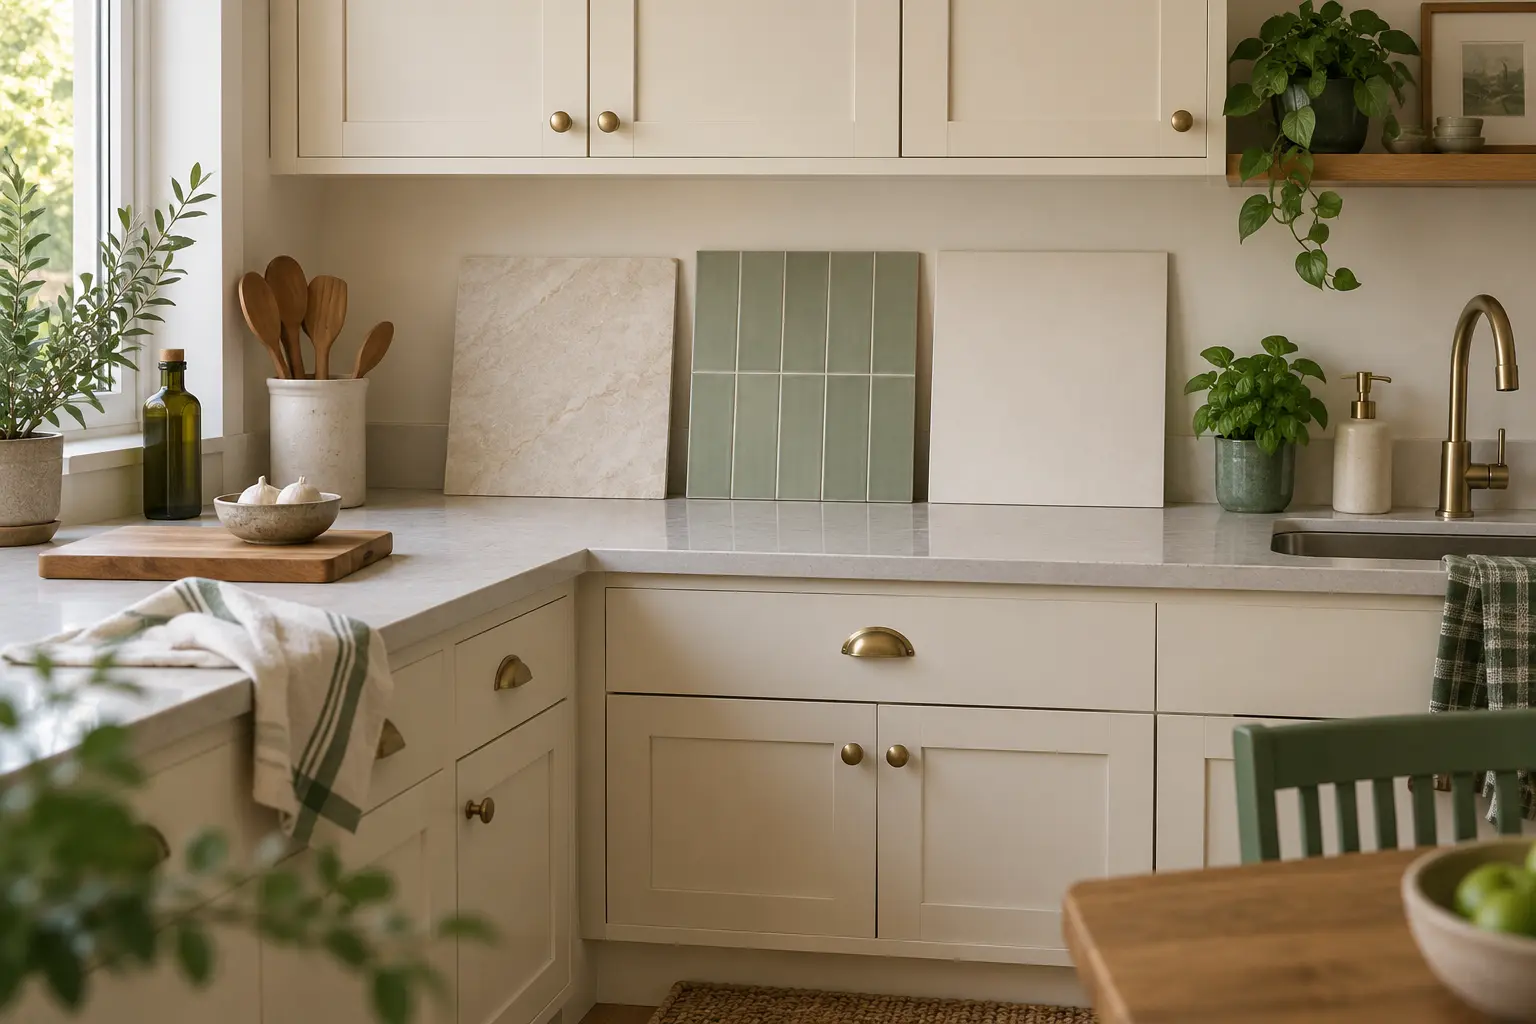
Editorial image note: the photographs in this guide are purpose-created illustrations of the organizing principles described. They are not presented as the author’s home, a client project or proof of a tested result.
In this guide
- 1. Start with permission and building rules
- 2. Identify the existing surface
- 3. Map heat, water and electrical restrictions
- 4. Compare three temporary approaches
- 5. Run a small hidden compatibility test
- 6. Measure the wall as separate rectangles
- 7. Install for future removal
- 8. Plan removal before move-out week
- Frequently asked questions
1. Start with permission and building rules
Read the lease and alteration rules, then ask the landlord or property manager in writing when the answer is unclear. Describe the exact material, area, attachment method and intended removal. Approval for one wall treatment does not automatically cover another, and a verbal conversation can be difficult to verify later.
Temporary does not mean risk-free
An adhesive marketed as removable can still lift weak paint, stain porous material or leave residue. Keep product instructions and written permission with your move-out records.
2. Identify the existing surface
Determine whether the backsplash area is painted drywall, tile, laminate, stone, metal or another finish. Look for loose paint, cracked grout, dampness, grease and uneven texture. Do not cover an active leak, mould concern, damaged outlet or failing surface; report and resolve the underlying issue first.
A smooth sealed surface may accept a removable film differently from textured paint or porous grout. Follow both the covering manufacturer’s compatibility guidance and the property owner’s instructions. If the finish is unknown, treat that uncertainty as a reason to use a freestanding sample or panel rather than stronger adhesion.
3. Map heat, water and electrical restrictions
Mark the cooking zone, sink splash area, outlets, switches, vents and service panels. A decorative film is not automatically suitable behind a cooktop or near an open flame. Use only materials approved for the exact location and required clearances, and follow appliance, product and local building guidance.
- Keep outlets, switches and access panels usable
- Do not bridge expansion joints or cover ventilation
- Check material guidance for heat and water exposure
- Keep seams away from repeated standing water where possible
- Never use décor to hide electrical, damp or structural damage
4. Compare three temporary approaches
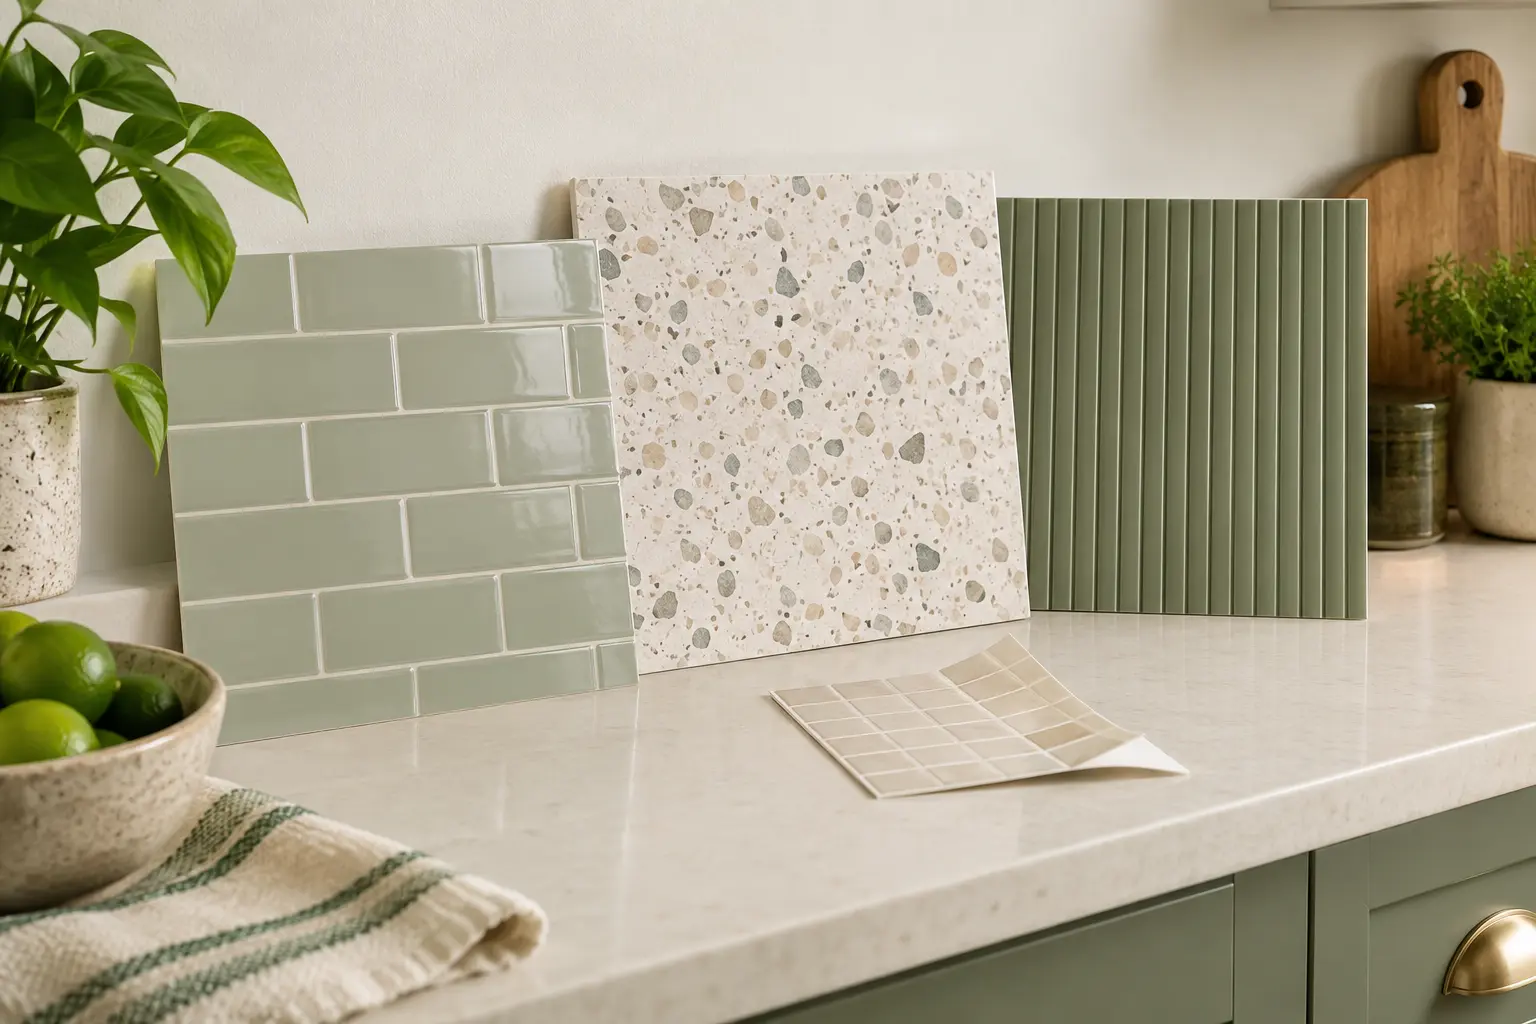
Removable film is thin and easy to sample, but it repeats the texture beneath it and depends heavily on surface compatibility. Peel-and-stick tile sheets add depth and seams, yet their adhesive and thickness can make removal or outlet fit more demanding. A fitted freestanding or mechanically supported panel can reduce direct contact with the wall, but it must be stable, cleanable and permitted without interfering with outlets, heat or ventilation.
Compare complete systems rather than price per sheet. Include edge finishing, cuts, waste, outlet adjustments that are legitimately permitted and the materials needed for careful removal. Our peel-and-stick planning guide covers the wider questions to ask before purchasing an adhesive finish.
5. Run a small hidden compatibility test
If permission and product instructions allow, clean and prepare a small inconspicuous area exactly as directed. Apply a sample for the recommended test period, then remove it using the stated method. Look for soft paint, colour change, residue, trapped moisture or surface lifting. A successful short test reduces uncertainty but cannot guarantee the result after months of heat and cleaning.
Photograph the surface before the test and after removal in ordinary light. Stop if the finish changes or the sample behaves unpredictably. Do not compensate with a harsher adhesive or solvent unless the property owner and surface guidance specifically allow it.
6. Measure the wall as separate rectangles
Measure each uninterrupted section instead of multiplying the room length by one height. Record corners, cabinet undersides, window edges and every outlet or switch. Use a paper plan to decide where seams will fall and purchase only the sensible allowance recommended for the selected system.
Plan the first visible line carefully. A pattern can drift when the counter or cabinet is not perfectly level, so follow the product’s layout method rather than using a single room edge as unquestioned truth. Never open or alter electrical fittings unless you are authorized and qualified to do so.
7. Install for future removal
Prepare only with cleaners and methods compatible with the existing finish. Keep backing papers, batch information and removal instructions. Work in manageable sections, avoid overstretching film and do not seal over areas that must breathe or be inspected. If the installation requires specialist electrical, gas or construction work, a temporary décor project has exceeded the DIY plan.
Save one unused piece for a future repair and note the installation date. Avoid adding extra glue when an edge lifts; diagnose surface contamination, heat, moisture or incompatibility instead.
8. Plan removal before move-out week
Remove the material according to its instructions with enough time to address residue or seek property guidance. Work slowly and stop if the wall finish begins to lift. Do not use heat, blades or chemical removers unless they are approved for the covering and original surface.
Compare the uncovered wall with your earlier photographs, clean only with a compatible method and report unexpected damage honestly. A responsible renter-friendly upgrade includes the exit plan from the beginning.
Frequently asked questions
Are peel-and-stick backsplashes safe for rental walls?
They can be suitable only when the lease permits them, the product is compatible with the exact finish and a small test behaves well. Removable marketing is not a guarantee against paint or residue damage.
Can I put a temporary backsplash behind a stove?
Use a material there only when its instructions, the appliance guidance and applicable building rules permit the exact heat and flame conditions. Otherwise leave the restricted area unchanged.
What is the least permanent backsplash option?
A stable freestanding panel may reduce direct wall adhesion, but it still needs permission, correct support, cleanability and safe clearance from heat, water, outlets and ventilation.
How should I test a removable backsplash?
Follow the product’s surface-preparation and test instructions on a small inconspicuous approved area, keep it for the recommended period and remove it using the specified method while checking the original finish.