- Best for
- Small reach-in pantries and food cupboards
- Approach
- Build zones around meals and restocking
- Start here
- Start with a shelf and food inventory
A small pantry becomes difficult when every shelf is treated as general food storage. Everyday ingredients disappear behind backstock, tall packages block shorter ones and grocery day creates a second layer in front of the first. A useful pantry needs a clear role for each reachable area and enough open space to put food away without rebuilding the system.
This guide explains how to organize a kitchen pantry that already exists. If your kitchen has no dedicated pantry, use our no-pantry organization guide. For the wider room plan, begin with the small-kitchen organization guide.
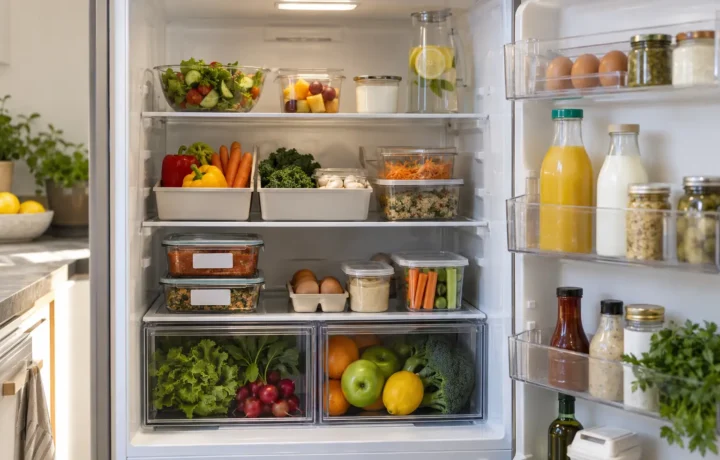
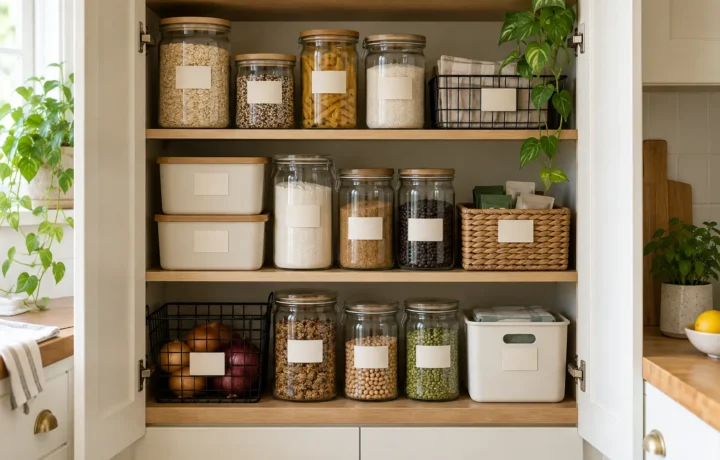
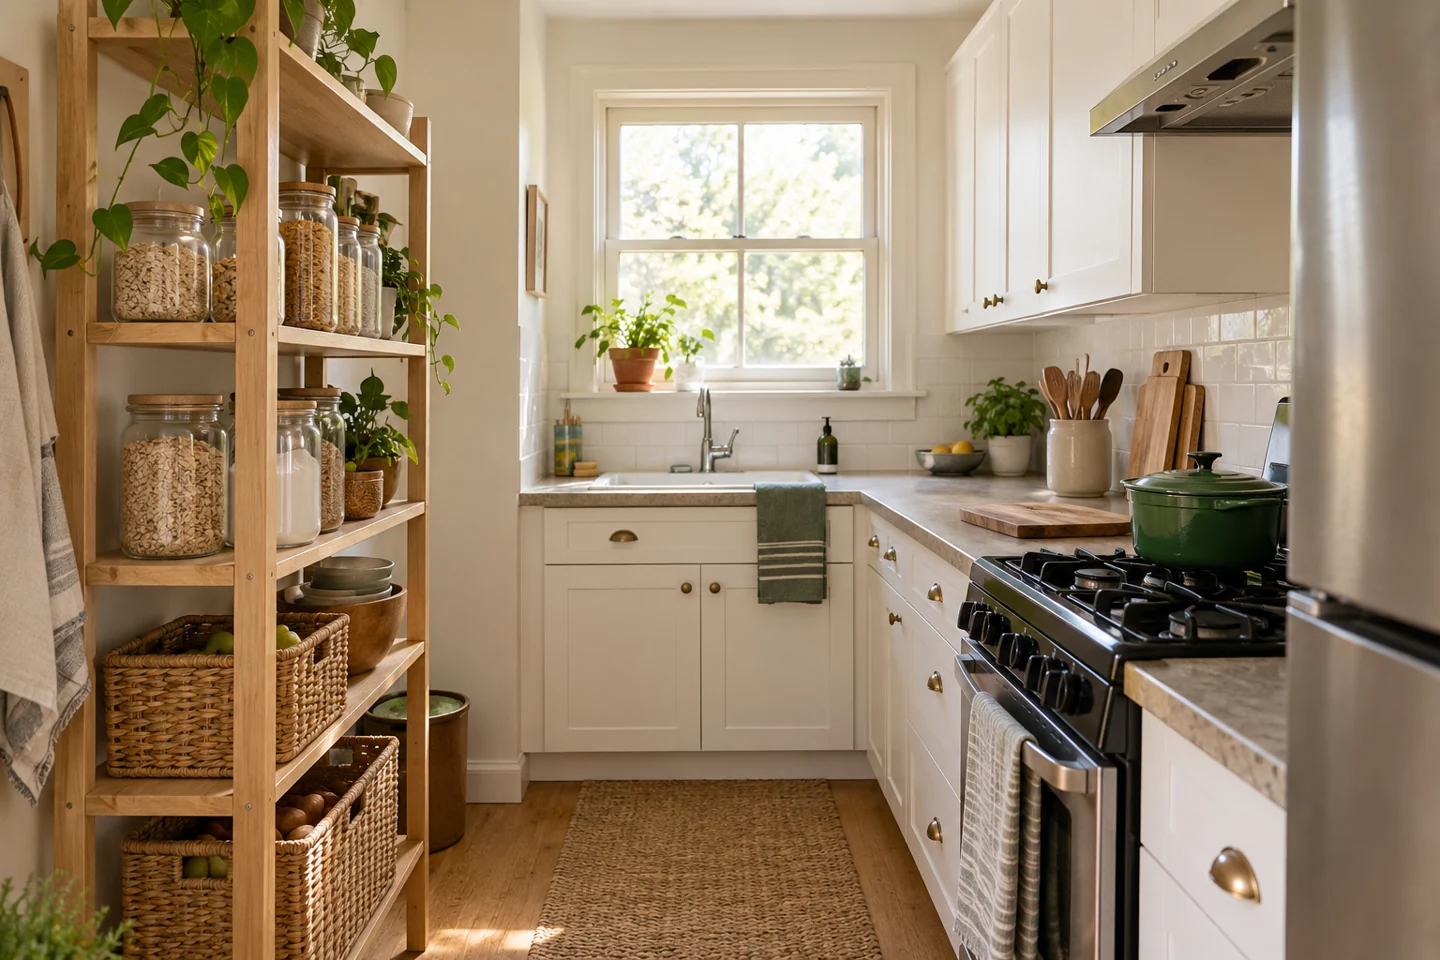
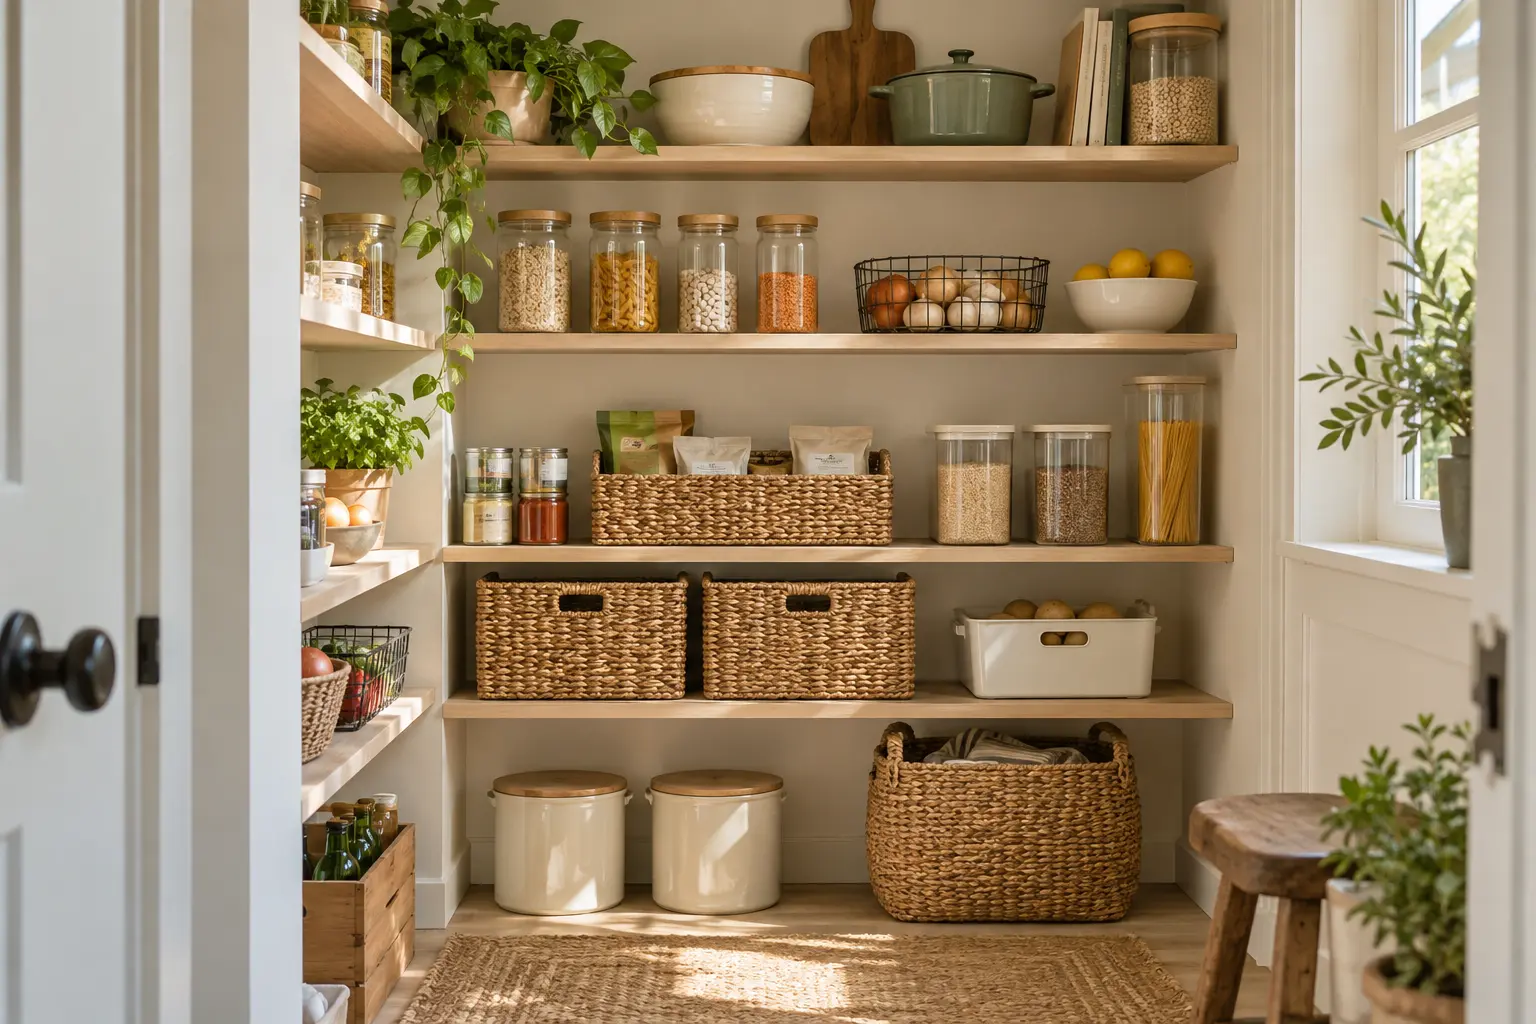
Editorial image note: the photographs in this guide are purpose-created illustrations of the organizing principles described. They are not presented as the author’s home, a client project or proof of a tested result.
In this guide
- 1. Inventory the food and the usable pantry
- 2. Build zones around real food routines
- 3. Assign shelves by access, weight and visibility
- 4. Choose containers only for a defined problem
- 5. Use vertical space without hiding the next layer
- 6. Limit backstock to the space you assign
- 7. Label the location, then test the wording
- 8. Use a five-minute pantry reset
- Frequently asked questions
1. Inventory the food and the usable pantry
Remove one shelf or category at a time so the kitchen can continue to function. Discard food only when it is expired, spoiled or no longer safe according to its label and local guidance. Combine duplicates when the products and dates make that appropriate, then record the categories the household actually keeps: breakfast, baking, grains, snacks, canned food, cooking ingredients and backstock, for example.
Measure the opening, not just the shelf
Record shelf width, depth and clear height, plus the narrowest door opening and any hinge, trim or fixed support. A bin that fits the shelf but cannot pass through the opening is not usable storage.
2. Build zones around real food routines
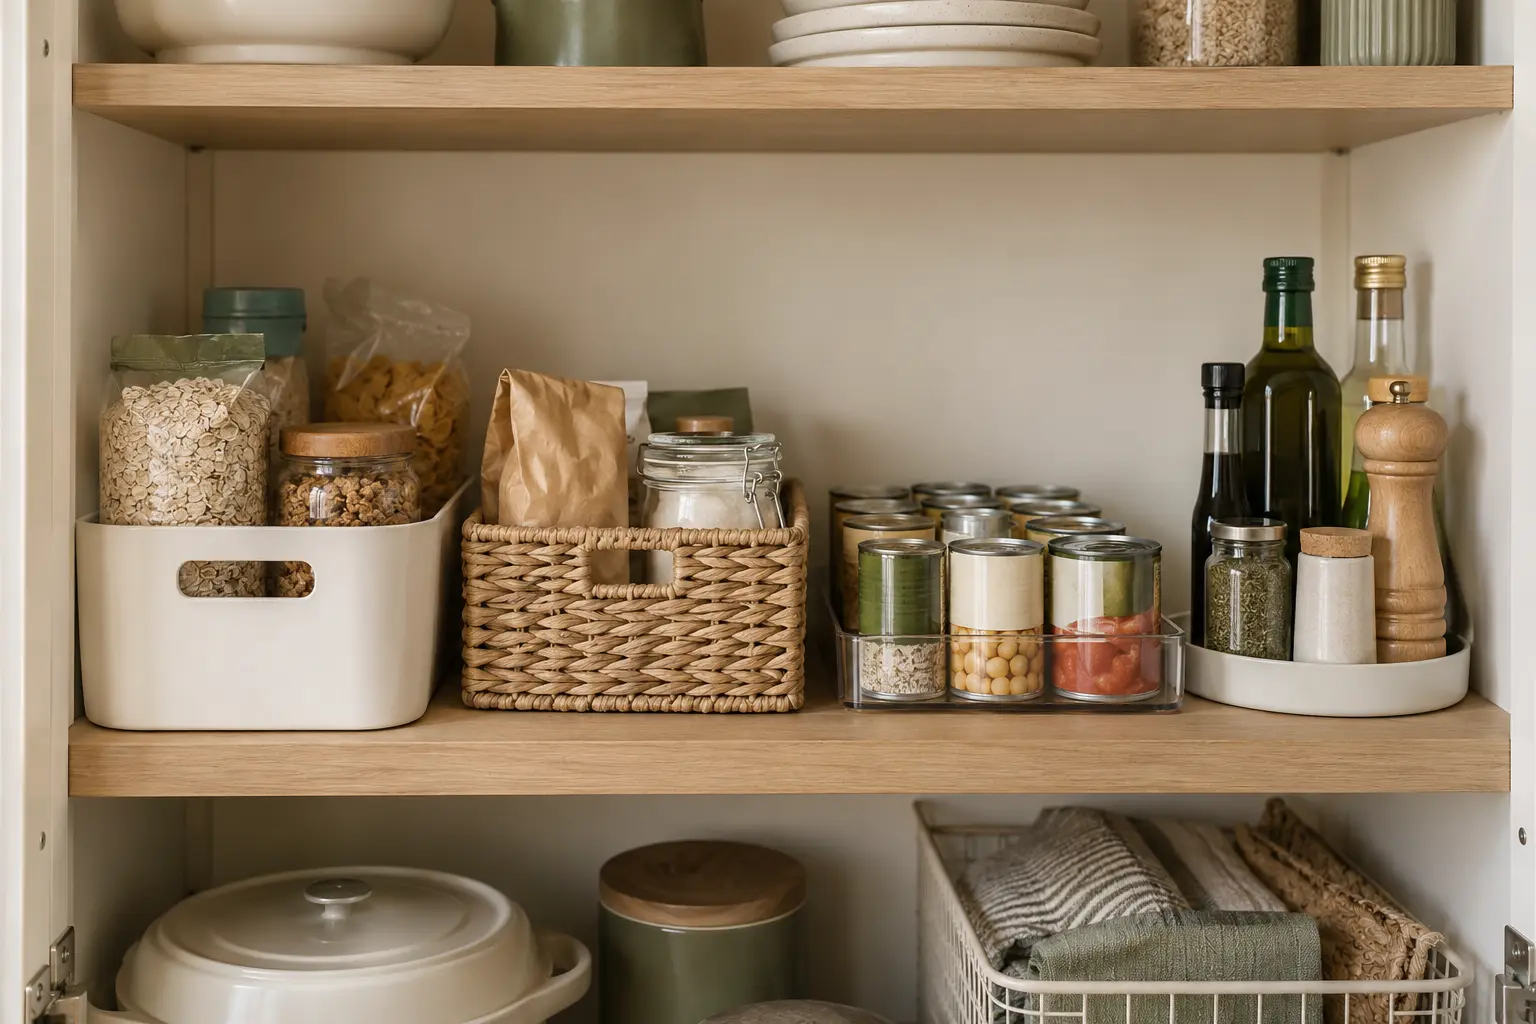
Group foods by the way they are selected rather than by matching package type. A breakfast zone may hold oats, cereal and spreads; a quick-meal zone may hold pasta, sauce and canned beans. When several ingredients leave the pantry together, keeping them near one another reduces searching and makes the missing item easier to notice.
- Daily foods in the easiest reach
- Meal groups near the preparation path
- Heavy or breakable items on supported lower shelves
- Occasional supplies higher up
- Backstock behind or above only when the front quantity remains visible
3. Assign shelves by access, weight and visibility
Reserve the most comfortable reach for food used every day. Store heavy jars, large cans and bulk packages on a stable lower shelf rather than overhead. Keep items for children or other household members only where access is appropriate for them. Follow the pantry, shelf and container load guidance; if a shelf bows or hardware loosens, reduce the load and correct the support before continuing.
Very deep shelves need a front-to-back rule. Use one category per lane, a handled bin that can be removed as a unit, or a shallow front row with identical backstock directly behind it. Avoid unrelated stacks that must be moved to discover what is at the rear.
4. Choose containers only for a defined problem
A clear container can show quantity, a basket can hold unstable packets and a turntable can improve access in a suitable corner. None is automatically necessary. Keep food in its original package when the label, preparation directions, date, allergen information or traceability matters. If food is decanted, use a food-safe container and retain the information needed to identify and use it safely.
Before buying organizers, test the proposed footprint with cardboard or an empty box. Confirm that the shelf still has room for fingers, labels remain readable and the chosen container can be lifted when full.
5. Use vertical space without hiding the next layer
A shelf riser can create a visible second level for cans or jars when it is stable and does not overload the shelf. Stack only packages designed to remain secure. Leave enough clearance to lift the back row without knocking the front row, and avoid tall towers that make a small quantity look like extra capacity.
Door storage can suit light, frequently used items when the pantry design and hardware support it. Confirm that added organizers do not rub the frame, strain the hinges or collide with shelf contents. Keep glass, heavy bottles and hazardous products in more secure storage.
6. Limit backstock to the space you assign
Choose one backstock boundary: one basket, one shelf section or one row behind the active item. When that area is full, use what is already present before adding more. This turns available space into a purchasing limit and prevents discounted duplicates from displacing everyday food.
Place the older suitable item where it will be selected first and check dates during restocking. Do not rely on a decorative label to manage rotation; the product identity and relevant date need to remain legible.
7. Label the location, then test the wording
Start with temporary labels on shelf edges or bins. Use broad, household language such as breakfast, snacks or baking instead of creating many narrow categories. After two grocery cycles, rename any zone where items repeatedly land somewhere else. The best label describes the habit that already works.
For pantry drawers, visibility and height require a more specific layout. Our pantry-drawer organization guide covers dividers, upright packets and top-view labels.
8. Use a five-minute pantry reset
Once a week or before shopping, return stray items, bring forward food that should be used soon, wipe only empty accessible areas and note shortages. A full decanting session is not required. The reset should be short enough to repeat and specific enough to reveal when one zone is receiving more than its assigned space.
- Return food to its working zone
- Bring the older suitable item forward
- Remove empty packaging
- Check the backstock boundary
- Add only proven shortages to the list
Frequently asked questions
What is the best way to organize a small kitchen pantry?
Inventory the food, measure the usable opening, group items by routine and assign the easiest shelf space to everyday categories. Add containers only when they solve a specific access or stability problem.
Should everything in a pantry go into matching containers?
No. Original packaging may preserve instructions, dates and allergen information. Decant only when a food-safe container improves a real problem and you can retain the information needed for safe use.
How do I organize a deep pantry shelf?
Use a clear front-to-back rule: one category per lane, a removable handled bin or identical backstock directly behind the active item. Avoid unrelated layers that hide one another.
How often should I reorganize a pantry?
Use a short weekly or pre-shopping reset and make structural changes only when a zone repeatedly fails. A maintainable pantry should not need a complete makeover every month.