- Best for
- Shallow and standard kitchen drawers
- Approach
- Assign one job to each drawer
- Start here
- Empty and measure one drawer
Kitchen drawers work best when they reduce movement. The tool you need should be close to the task, visible enough to find and easy to return with one hand. In a small kitchen, that matters more than making every compartment look identical.
This guide focuses on standard and shallow drawers. Deep kitchen drawers need different support for height and weight and will be covered separately. If the whole room needs a clearer plan first, use the small-kitchen organization guide to define your work zones.
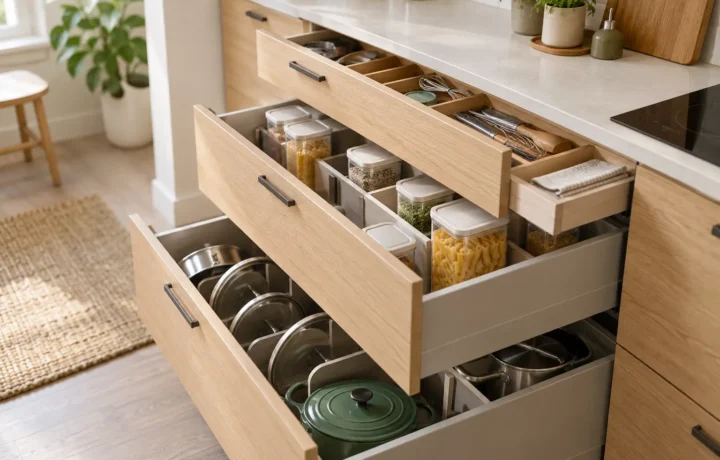
Editorial image note: the photographs in this guide are purpose-created illustrations of the organizing principles described. They are not presented as the author’s home, a client project or proof of a tested result.
In this guide
- 1. Assign one main job to each drawer
- 2. Edit the contents before the layout
- 3. Measure the usable drawer interior
- 4. Choose removable dividers for flexible zones
- 5. Put frequent tools at the front
- 6. Stop long tools from crossing the drawer
- 7. Contain small items without hiding them
- 8. Use liners only when they solve a problem
- 9. Label the drawer only if several people need the cue
- 10. Test the drawer during a normal week
- Frequently asked questions
1. Assign one main job to each drawer
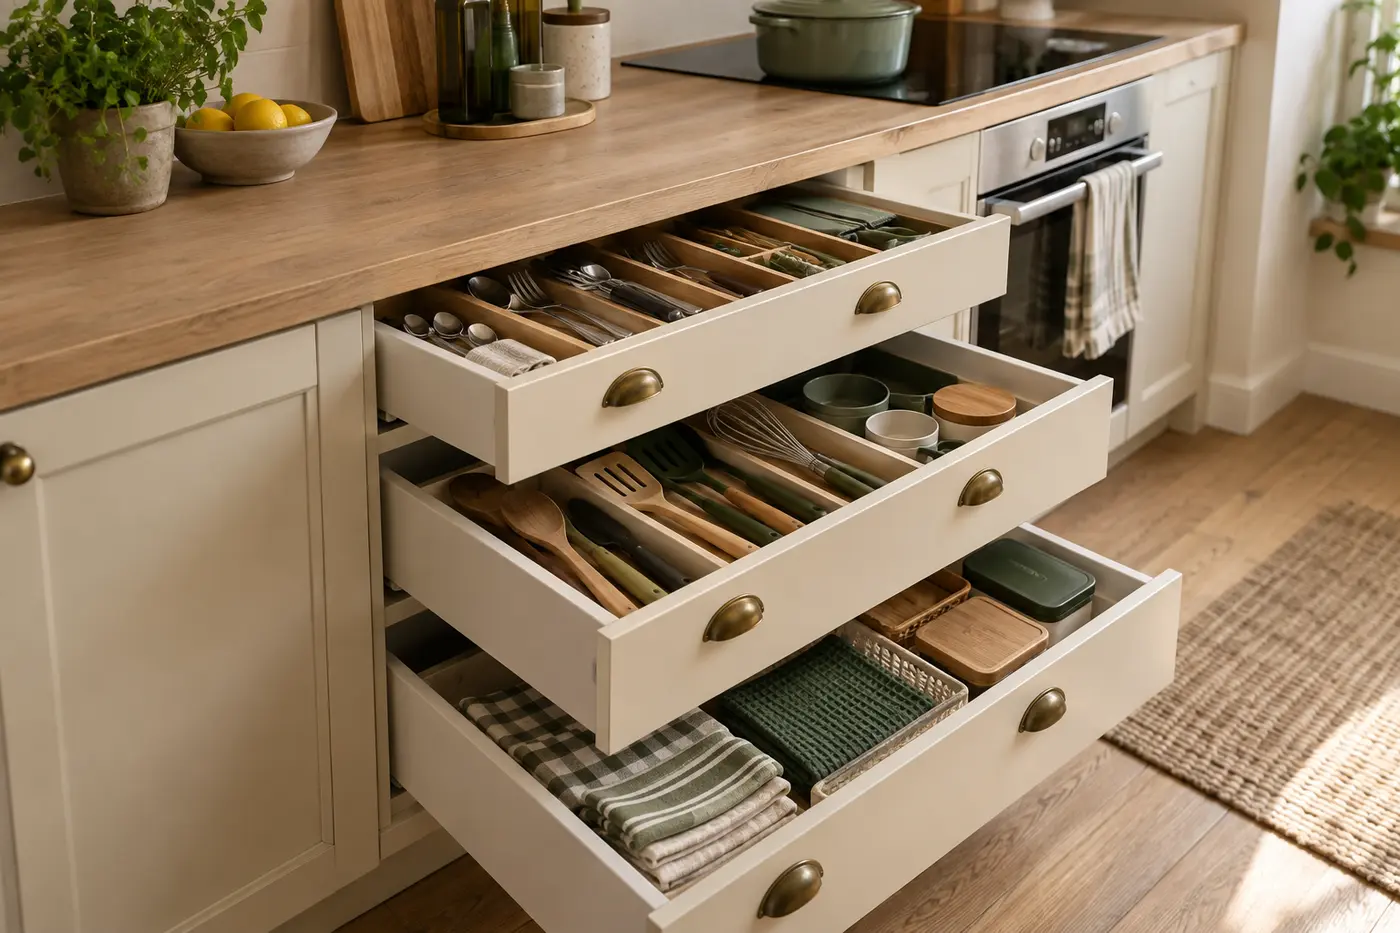
Stand where the task happens and choose the nearest practical drawer. Cutlery usually belongs near plates or the eating area. Cooking tools belong near the stove but away from direct heat. Preparation tools belong near the main cutting surface. Towels can sit close to the sink.
- Eating: cutlery, serving spoons and napkins.
- Preparation: measuring tools, peelers and small utensils.
- Cooking: spatulas, tongs and heat-safe spoons.
- Finishing: clips, wraps or lunch-packing tools.
2. Edit the contents before the layout
Remove broken tools, uncomfortable duplicates and objects that belong in another room. Keep the version you reach for first. If the kitchen still feels crowded, use the contained kitchen-decluttering method before buying any insert.
3. Measure the usable drawer interior
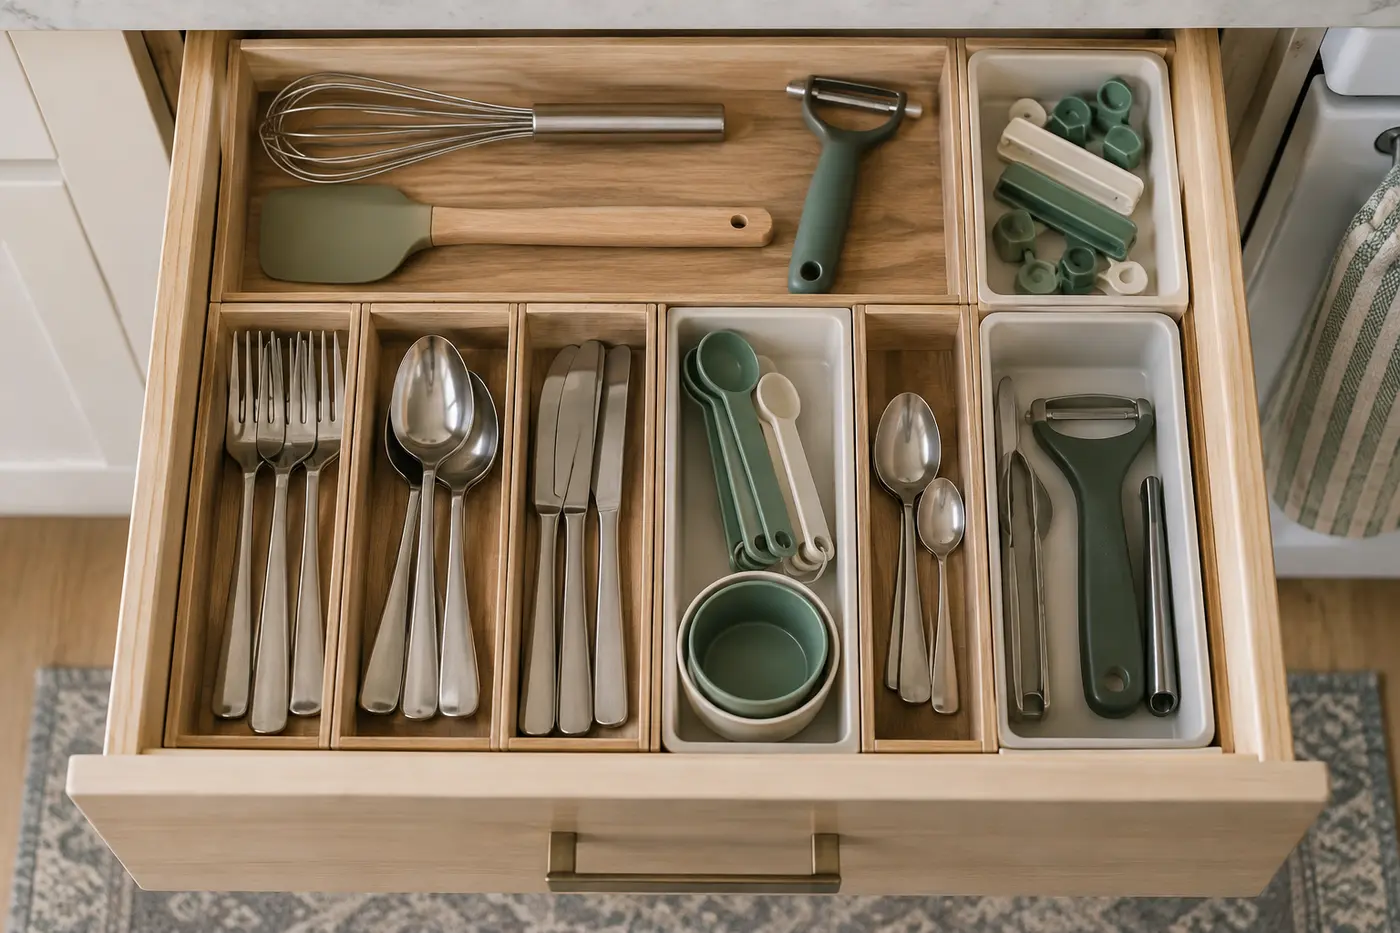
Measure internal width, depth and height rather than the drawer front. Check for curved corners, side rails, exposed screws and the space needed for the drawer to close. For expandable inserts, record both the minimum and maximum usable width.
Before ordering
Place the tallest tool flat in the drawer and close it slowly. A divider that fits the cavity can still fail if handles or stacked utensils rise into the cabinet frame.
4. Choose removable dividers for flexible zones
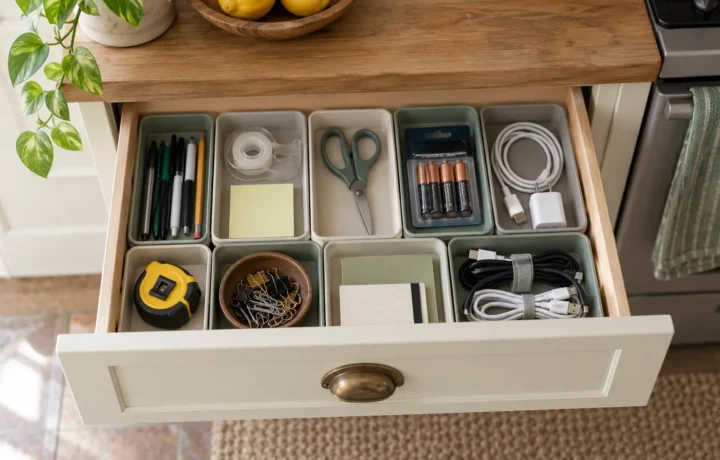
A single fitted cutlery tray is useful for a predictable set of utensils. Small open boxes work better for clips, measuring spoons and changing categories. Adjustable dividers can create longer lanes for spatulas and whisks. In a rental, prefer removable solutions that do not require drilling or permanent adhesive.
Leave a little expansion space. A system filled to the exact edge on day one has no room for a replacement tool or a temporary extra.
5. Put frequent tools at the front
Frequency is often more useful than size. Keep the tools used every day at the front or in the clearest compartment. Move occasional baking or specialty tools to the back, a secondary drawer or a labelled container outside the main zone.
6. Stop long tools from crossing the drawer
Long tools create jams when they rotate. Give them a lane that matches their length, or place a low divider across the drawer to keep handles aligned. Do not stack so deeply that one spoon must be lifted to find another.
7. Contain small items without hiding them
Use shallow open cups or boxes for clips, corks, bag ties and measuring spoons. Avoid deep opaque containers inside shallow drawers; they reduce visibility and invite unrelated items to accumulate.
8. Use liners only when they solve a problem
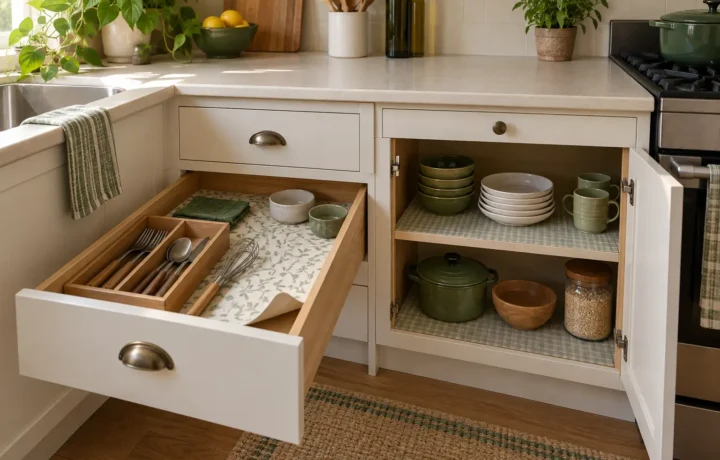
A non-slip liner can reduce movement, protect a delicate finish or quiet metal tools. It should lie flat, remain cleanable and be suitable for the surface. Check the manufacturer’s directions and, in a rental, test removability in an inconspicuous place.
9. Label the drawer only if several people need the cue
Most adults do not need a label for cutlery, but a small removable label can help a new system settle in or make a shared kitchen easier to reset. Label the purpose—such as baking or lunch packing—rather than listing every object.
10. Test the drawer during a normal week
Use the kitchen before making the layout permanent. If tools collect on the counter, their drawer may be too far away, too full or too complicated to use. Adjust the zone rather than blaming the household for not following it.
- Return stray tools during the evening reset.
- Remove crumbs and wipe inserts when needed.
- Review duplicates when a drawer starts catching.
- Keep the drawer's main job unchanged unless the workflow changes.
Frequently asked questions
What is the best way to organize kitchen drawers?
Assign one main task to each drawer, keep high-frequency tools at the front and use removable dividers sized to the usable interior.
How do I organize a kitchen drawer without buying organizers?
Use small clean boxes or trays you already own, arrange tools in lanes and test the layout before purchasing fitted inserts.
What should not be stored in a kitchen drawer?
Avoid storing items that prevent safe closing, exceed the drawer's capacity, belong near a different task or require storage conditions the drawer cannot provide.
How full should a kitchen drawer be?
It should open and close freely and allow frequently used tools to be removed without lifting several other items. Some open space is functional capacity.