- Best for
- Small drawers that do not fit standard trays
- Approach
- Build a removable insert around the items you use
- Start here
- Empty, measure and sketch before choosing material
DIY kitchen drawer dividers are most useful when a standard organizer wastes space, slides around or creates compartments that do not match the tools in the drawer. The project begins with editing and measuring. The divider material comes later.
This guide builds a removable insert rather than changing the drawer itself. Start with the wider kitchen-drawer organization plan if the drawer has not been sorted yet, or use our small-kitchen organization guide to decide which work zone the drawer should support.
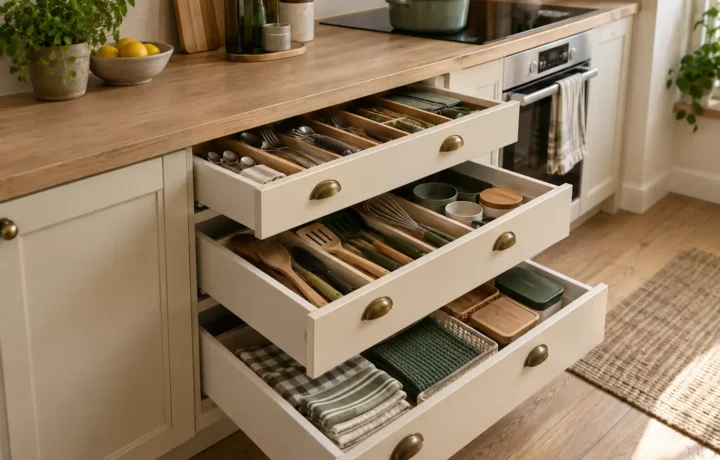
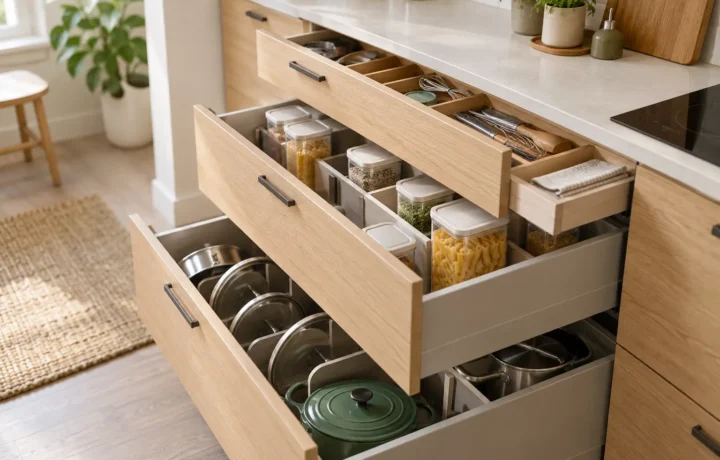
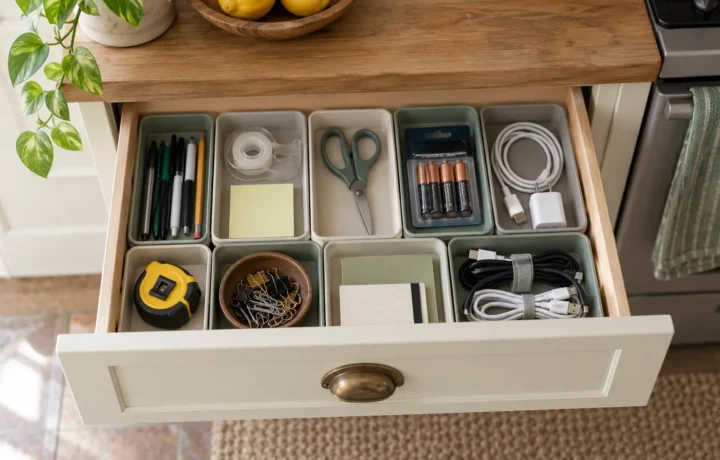
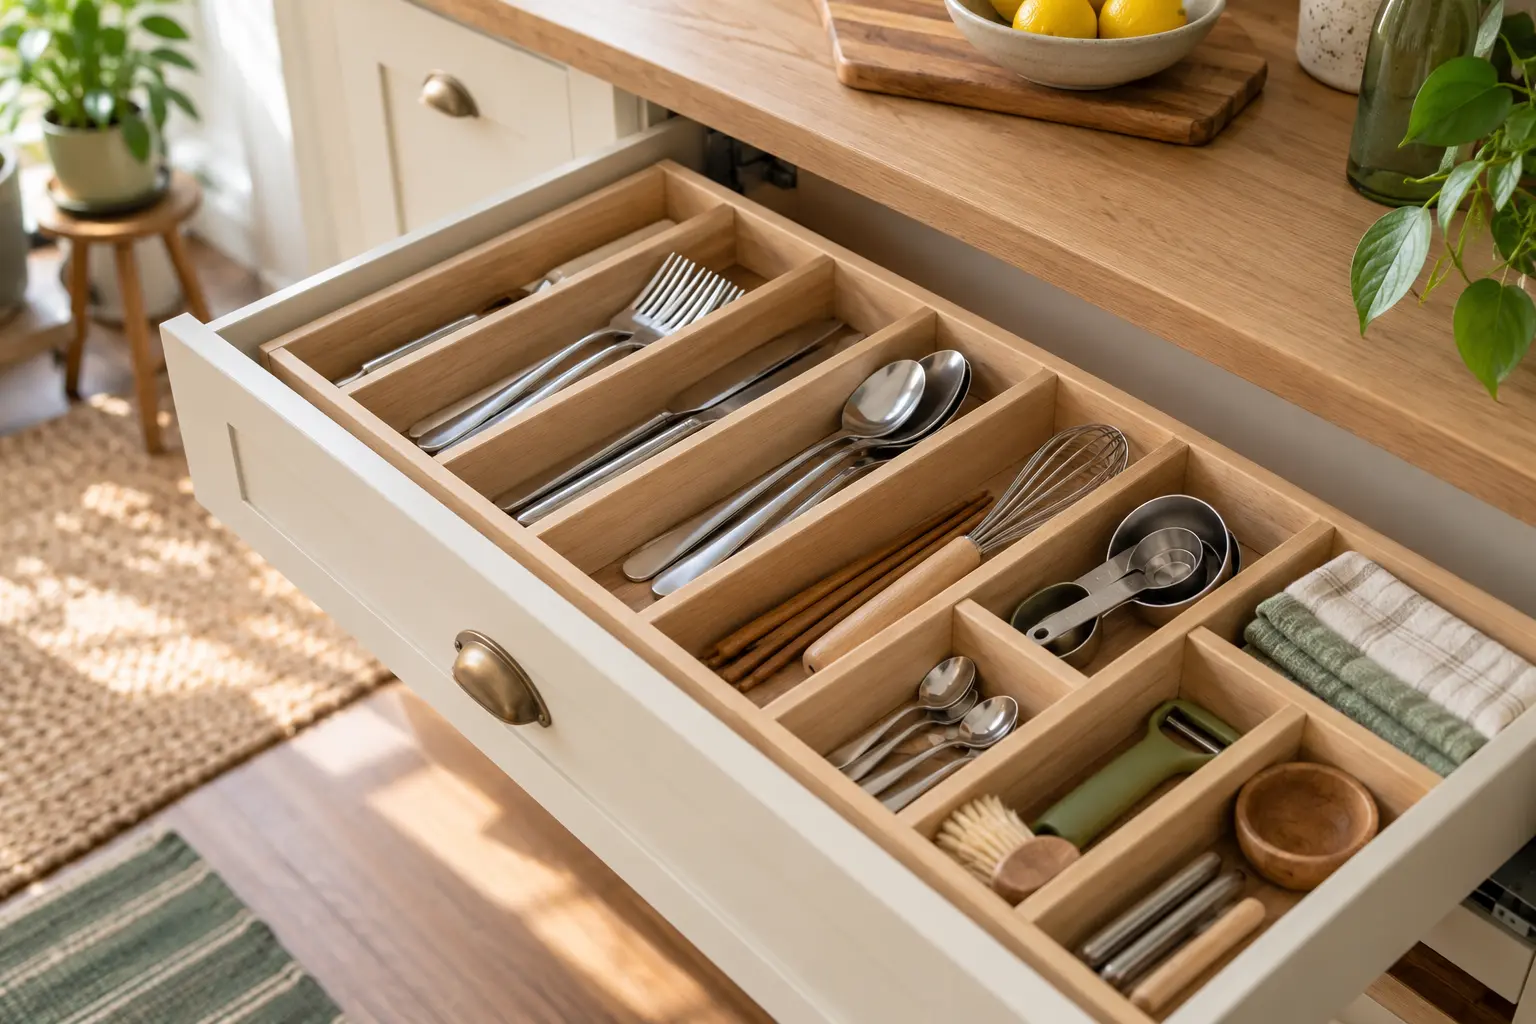
Editorial image note: the photographs in this guide are purpose-created illustrations of the organizing principles described. They are not presented as the author’s home, a client project or proof of a tested result.
In this guide
- 1. Choose a removable divider approach
- 2. Empty the drawer and edit its contents
- 3. Measure the inside of the real drawer
- 4. Map the largest tools first
- 5. Select material that suits the drawer
- 6. Dry-fit every divider before assembly
- 7. Assemble a lift-out insert
- 8. Test the layout for one week
- Frequently asked questions
1. Choose a removable divider approach
A lift-out grid, tension-fit divider or set of small independent boxes can divide a drawer without fastening anything to the cabinet. The right approach depends on drawer construction, usable height, the weight of the contents and how often the layout may change. Avoid a tight pressure fit that could mark a weak drawer box.
Keep the drawer unaltered
Do not drill, nail or glue into a rental cabinet without clear written permission. A removable insert should lift out for cleaning and should not obstruct the drawer slides, stops or closing mechanism.
2. Empty the drawer and edit its contents
Remove everything and group objects by task: everyday flatware, cooking tools, measuring tools or another single function. Rehome duplicates and objects that belong closer to a different task. A custom insert cannot compensate for a drawer that is serving several unrelated zones.
- Keep the most frequently used tools together
- Move oversized or rarely used pieces elsewhere
- Remove damaged items and unexplained duplicates
- Check that every object can lie below the drawer opening
- Clean and dry the empty drawer before measuring
3. Measure the inside of the real drawer
MEASURED PLANNING EXAMPLE
Turn measurements into a divider cut plan
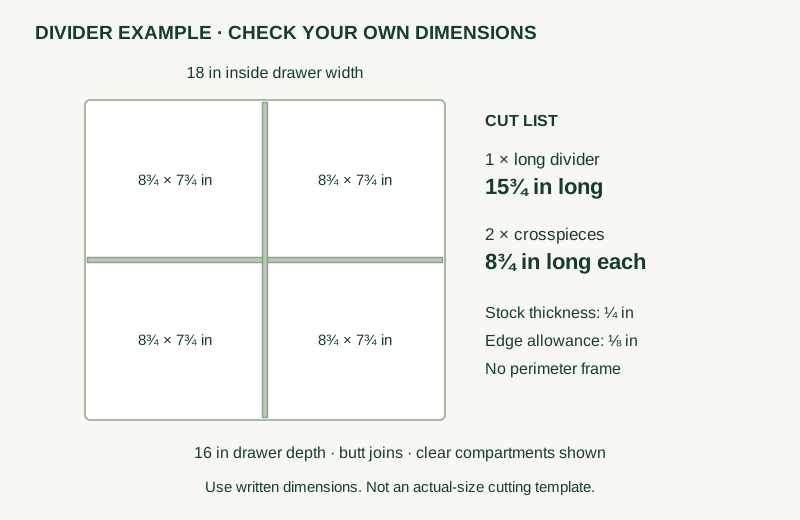
For this example, the long divider is 15¾ in and the two crosspieces are 8¾ in each. The four clear compartments are 8¾ × 7¾ in. Use your actual stock thickness and test cardboard pieces before cutting. This example does not account for grooves, joint overlap or sloping sides.
Compare removable organizer sizes →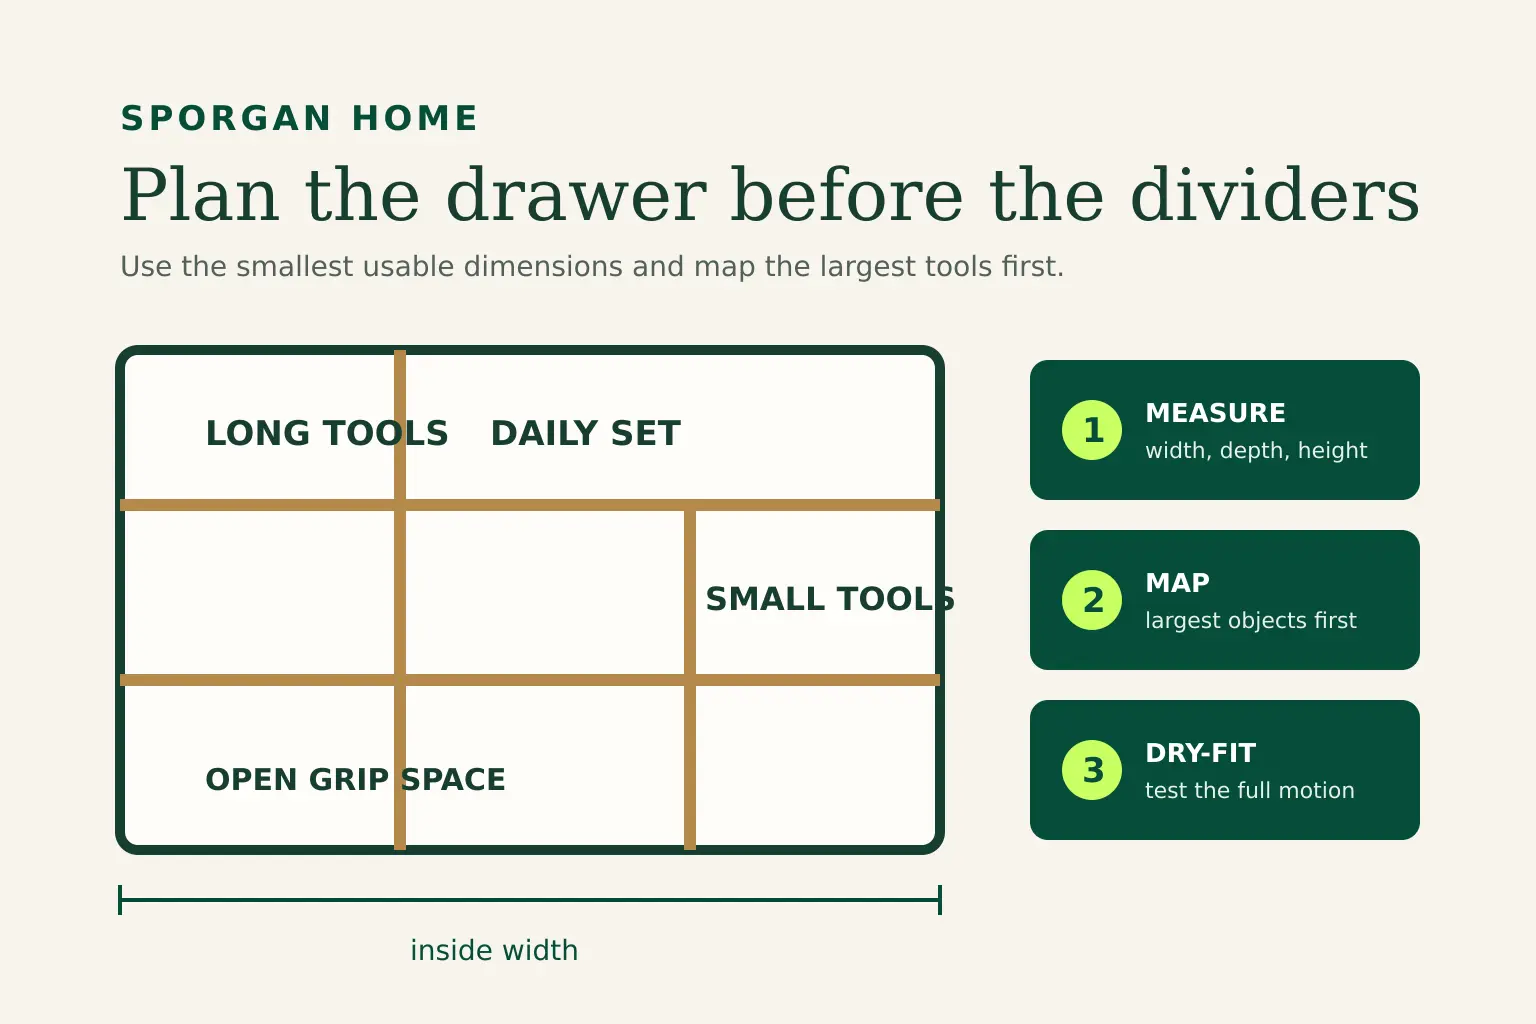
Measure internal width and depth at the front and back because a drawer may not be perfectly square. Measure usable height below any face frame or counter overhang, not only the height of the drawer side. Note screws, curved corners and hardware that reduce the space available to an insert.
Write down the smallest usable measurement in each direction. Leave enough tolerance for the completed insert to lift out without scraping. Material thickness also consumes space, so include every divider wall in the plan rather than drawing only the empty compartments.
4. Map the largest tools first
Place the longest or widest tools in the empty drawer and test the motion needed to pick them up. Trace loose zones on paper or use strips of folded card to explore the layout. Long channels work for flatware and utensils; wider cells suit measuring cups, clips or small tools.
Do not divide every spare centimetre. A little open space makes it easier to return an item with one hand and gives the layout room to absorb small changes. If the drawer is unusually deep, use the separate deep-drawer organization guide before copying a shallow grid.
5. Select material that suits the drawer
Thin finished wood strips create a rigid grid, while sturdy washable boxes provide a tool-free alternative. Choose smooth, clean material suitable for an indoor drawer and follow its manufacturer’s handling guidance. Avoid rough edges, unfinished splinters and material that transfers colour, odour or residue.
If cutting wood is outside your experience, ask a retailer or qualified person to cut the measured pieces, or use adjustable dividers and boxes. Wear the protective equipment required by the material and tool instructions. This guide explains the storage plan, not power-tool operation.
6. Dry-fit every divider before assembly
Place the outer pieces and main channels in the drawer without permanent fastening. Add the real contents, close the drawer slowly and check clearance. Lift out the test layout and adjust any compartment that pinches a handle or leaves an everyday tool buried.
Test the complete motion
A layout is not finished when the objects merely fit. You should be able to open the drawer, see the needed tool, lift it out and return it without moving another category.
7. Assemble a lift-out insert
Join divider pieces only according to the selected material and hardware instructions, and keep the assembly separate from the drawer box. Smooth every accessible edge and allow any approved finish or adhesive used within the insert to cure fully away from kitchen contents. Return the insert only when it is clean, dry and odour-free.
Add non-marking feet or a washable liner beneath the insert only when they are compatible with the drawer finish. Do not pack the perimeter so tightly that seasonal movement or a small spill traps the organizer in place.
8. Test the layout for one week
Use the drawer normally before treating the map as final. A frequently misplaced tool may need a wider opening, a different direction or a position closer to the front. Lift the insert out for cleaning and revise a zone when the contents genuinely change.
For a mixed household drawer, continue with the kitchen junk-drawer guide. It uses the same measure-and-zone logic but adds limits for cables, batteries and small household supplies.
Frequently asked questions
What can I use for DIY kitchen drawer dividers?
A removable wood grid, adjustable tension dividers or washable boxes can work. Choose smooth material that fits the drawer, suits the contents and can be removed for cleaning.
How do I keep drawer dividers from moving?
Use a correctly sized lift-out frame, compatible non-marking feet or a purpose-made tension system. Do not force a pressure fit or add adhesive to the cabinet without permission.
How much space should I leave around a drawer insert?
Leave enough tolerance for the completed insert to lift out easily without scraping. The required amount depends on the drawer, material and joining method, so test the full dry fit before assembly.
Should every kitchen utensil get its own compartment?
No. Group compatible tools by task and reserve individual cells only where separation improves visibility, access or safe storage.