- Best for
- Cabinets, shelves and drawers
- Approach
- Use liner only for a defined problem
- Start here
- Check the surface and rental rules
Kitchen cabinet liner is optional. It can add grip, soften noise, protect a vulnerable surface or make a removable cleaning layer. It can also curl, trap crumbs, hold moisture or leave residue when the material is wrong for the cabinet.
The useful question is not whether every kitchen should have liner. It is whether a specific shelf or drawer has a problem that an appropriate removable material can solve. This guide helps you decide before covering the whole room.
Editorial image note: the photographs in this guide are purpose-created illustrations of the organizing principles described. They are not presented as the author’s home, a client project or proof of a tested result.
In this guide
- 1. Name the problem before choosing liner
- 2. Identify the cabinet surface and restrictions
- 3. Compare removable liner types
- 4. Use liner where it provides a clear benefit
- 5. Skip liner where it creates a new risk
- 6. Measure each surface separately
- 7. Keep the liner flat and removable
- 8. Plan how the liner will be cleaned
- 9. Review the result after normal use
- Frequently asked questions
1. Name the problem before choosing liner
Look at the empty cabinet or drawer. Is the finish delicate, are utensils sliding, is metal cookware noisy or does a leak-prone area need a removable tray? If the surface is sound and easy to clean, adding liner may only create another layer to maintain.
One problem, one material
Grip, moisture protection, cushioning and decoration are different jobs. Choose a liner or tray designed for the actual job rather than expecting one product to do everything.
2. Identify the cabinet surface and restrictions
Painted wood, laminate, unfinished wood, metal and coated wire shelves respond differently to adhesives and textured materials. Read the cabinet-care guidance and the liner manufacturer’s surface instructions. In a rental, check the lease or ask the property owner before using adhesive products.
Test any removable product in a hidden area for the recommended period. Do not assume removable means residue-free on every finish.
3. Compare removable liner types
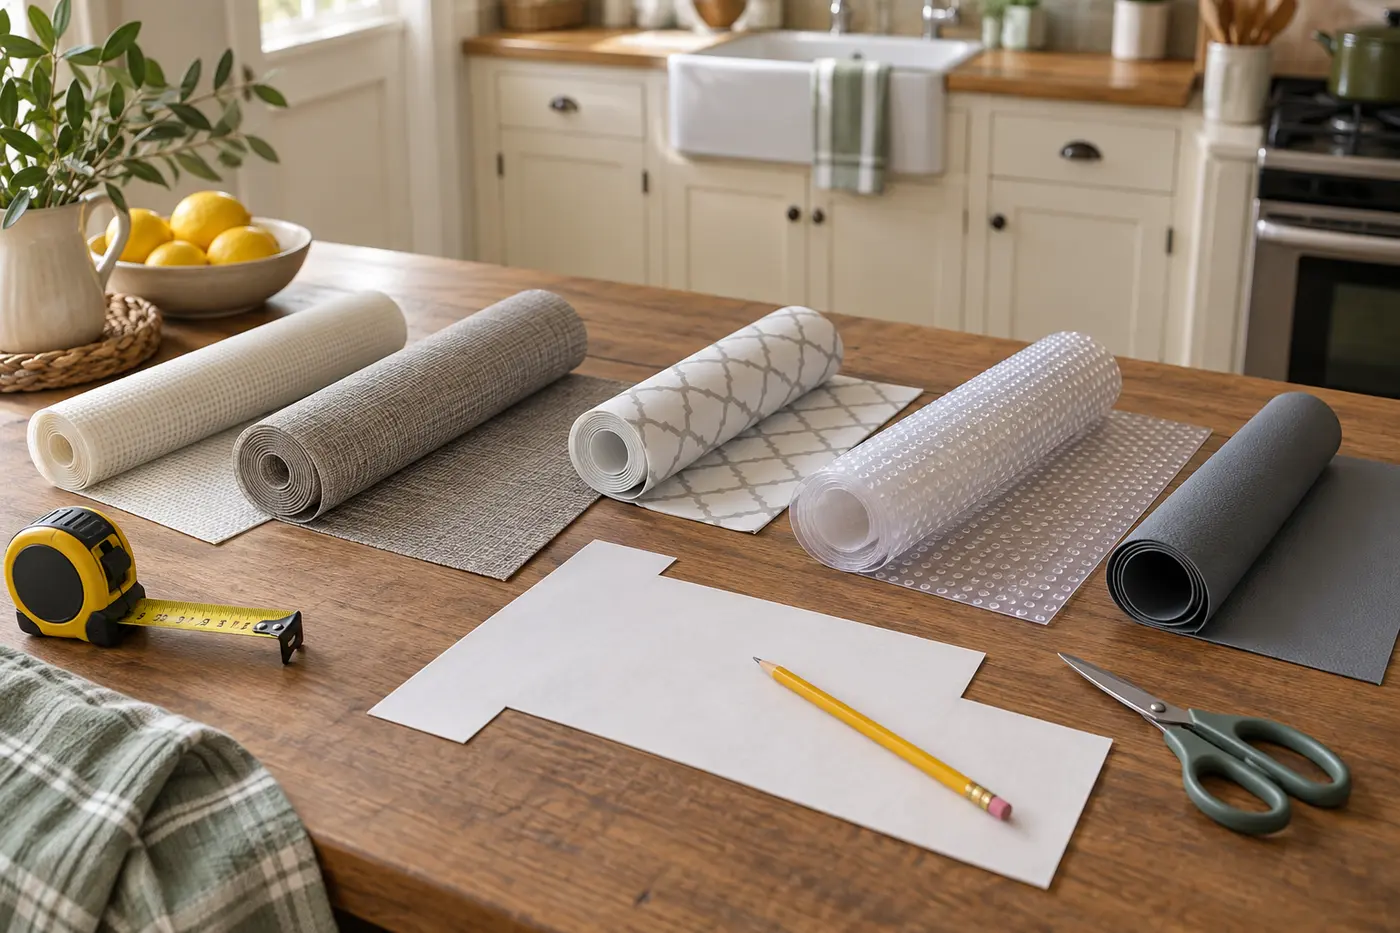
Non-adhesive textured liner can add grip but may collect crumbs in its openings. Smooth washable liner is easier to wipe but may slide if it is not fitted well. Felt-like protectors can cushion delicate cookware but require a dry location and suitable care. Rigid trays contain small spills more effectively than flat liner in some cabinets.
Use product descriptions as a starting point, then confirm the material is intended for the surface, load and cleaning method you have.
4. Use liner where it provides a clear benefit
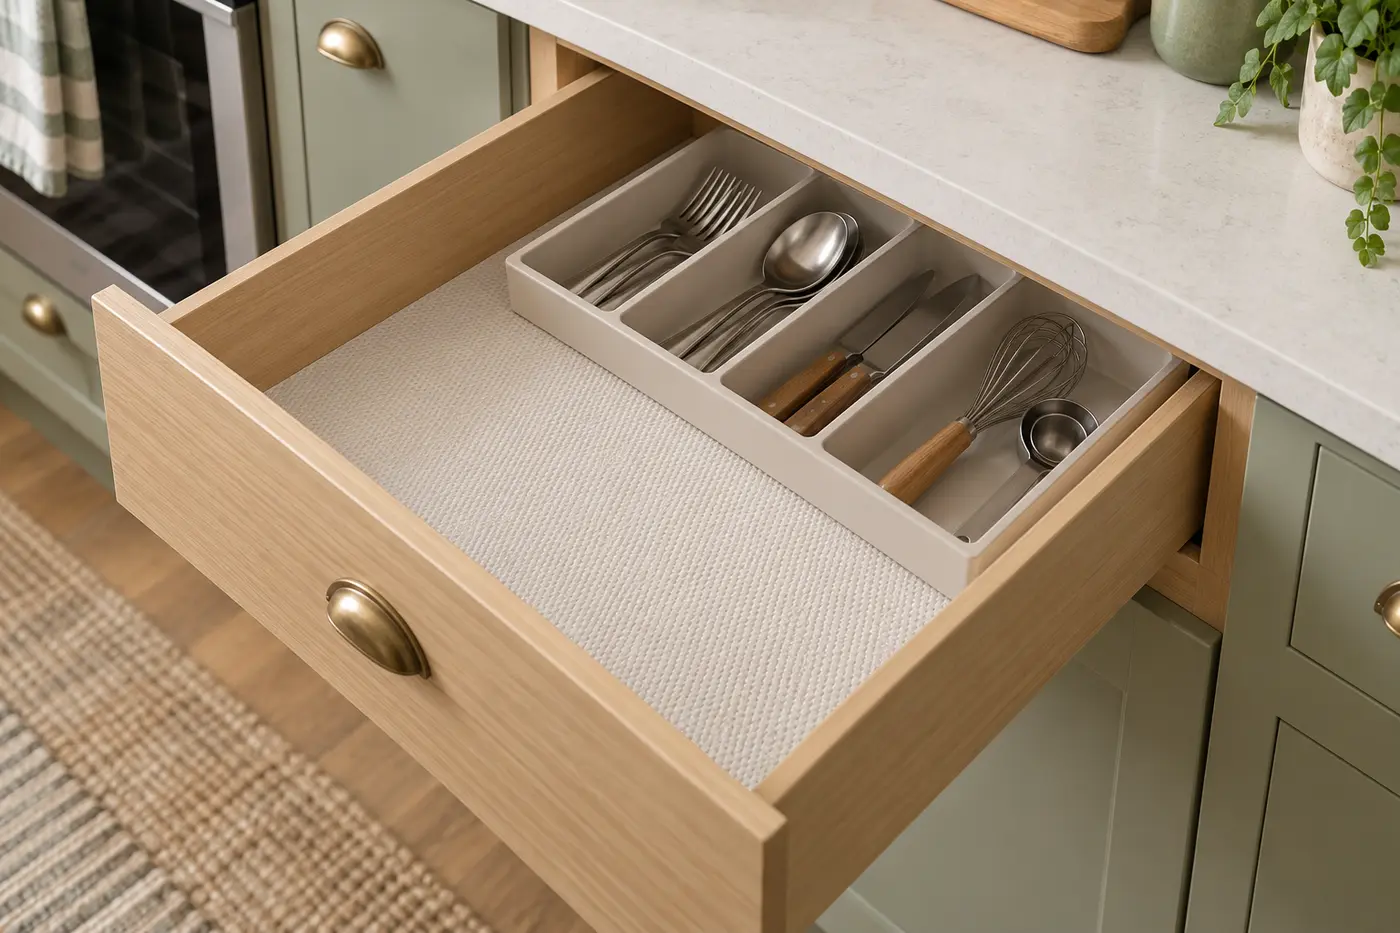
A non-slip layer may help in a utensil drawer, especially after the drawer has been edited and divided. The kitchen drawer organization guide explains how to measure the usable interior before adding inserts. A washable layer can also protect a shelf from an item that regularly leaves dust or minor residue.
Under the sink, a raised-edge removable tray is often more informative than absorbent liner because it can make a small leak easier to notice and remove. Keep plumbing visible using the under-sink organization plan.
5. Skip liner where it creates a new risk
Do not use a material that blocks ventilation, interferes with moving hardware, contacts a heat source or conflicts with product instructions. Avoid absorbent material in damp areas and loose edges where drawers or pull-outs can catch.
Food should remain in suitable packaging or containers rather than resting directly on decorative liner unless the material is specifically intended for that contact and use.
6. Measure each surface separately
Cabinet shelves are not always identical. Measure width and depth at several points, noting clips, rounded corners and door hardware. Make a paper template for an irregular shape. Cut one test piece before preparing the entire kitchen.
- Clean and dry the surface as directed
- Mark the liner on the reverse side
- Cut slightly large only when the material allows careful trimming
- Fit around hardware without covering it
- Confirm doors and drawers close freely
7. Keep the liner flat and removable
Lay non-adhesive liner flat and allow rolled material to relax if the instructions recommend it. Trim curling edges rather than hiding them under heavy objects. Use only the securing method approved for both the liner and cabinet surface.
Do not permanently attach liner merely to stop a poor fit from moving. Recut the piece or choose a material with more appropriate grip.
8. Plan how the liner will be cleaned
Choose pieces that can be removed without unloading several unrelated zones. Follow the care instructions for wiping or washing and let the cabinet and liner dry fully before replacing contents. Discard or replace damaged material according to local disposal guidance.
9. Review the result after normal use
After a few weeks, lift the liner and inspect the surface. Check for trapped crumbs, moisture, color change, residue or movement. If the cabinet was easier to use and the surface remains sound, the liner is doing a useful job. If not, remove it rather than lining more areas.
For the rest of the room, use the small-kitchen organization guide to solve access and capacity problems before buying additional products.
Frequently asked questions
Should you line kitchen cabinets?
Only when a suitable liner solves a defined problem such as sliding, noise, a delicate surface or easier removable cleanup. Many sound, washable shelves do not need it.
Is adhesive or non-adhesive cabinet liner better?
Non-adhesive liner is usually easier to reverse, but suitability depends on grip, surface material and cleaning needs. Adhesive products require explicit surface compatibility and rental approval.
Should I line cabinets under the kitchen sink?
A washable raised-edge tray may be more useful than absorbent liner because it can be removed and can help reveal moisture. Keep pipes and valves visible.
How often should cabinet liner be replaced?
Inspect it during normal cleaning and replace it when it is damaged, no longer lies flat or cannot be cleaned as directed. There is no universal schedule.