- Best for
- High cabinets above a refrigerator
- Approach
- Light, infrequent and clearly grouped items
- Start here
- Check the appliance manual and cabinet clearance
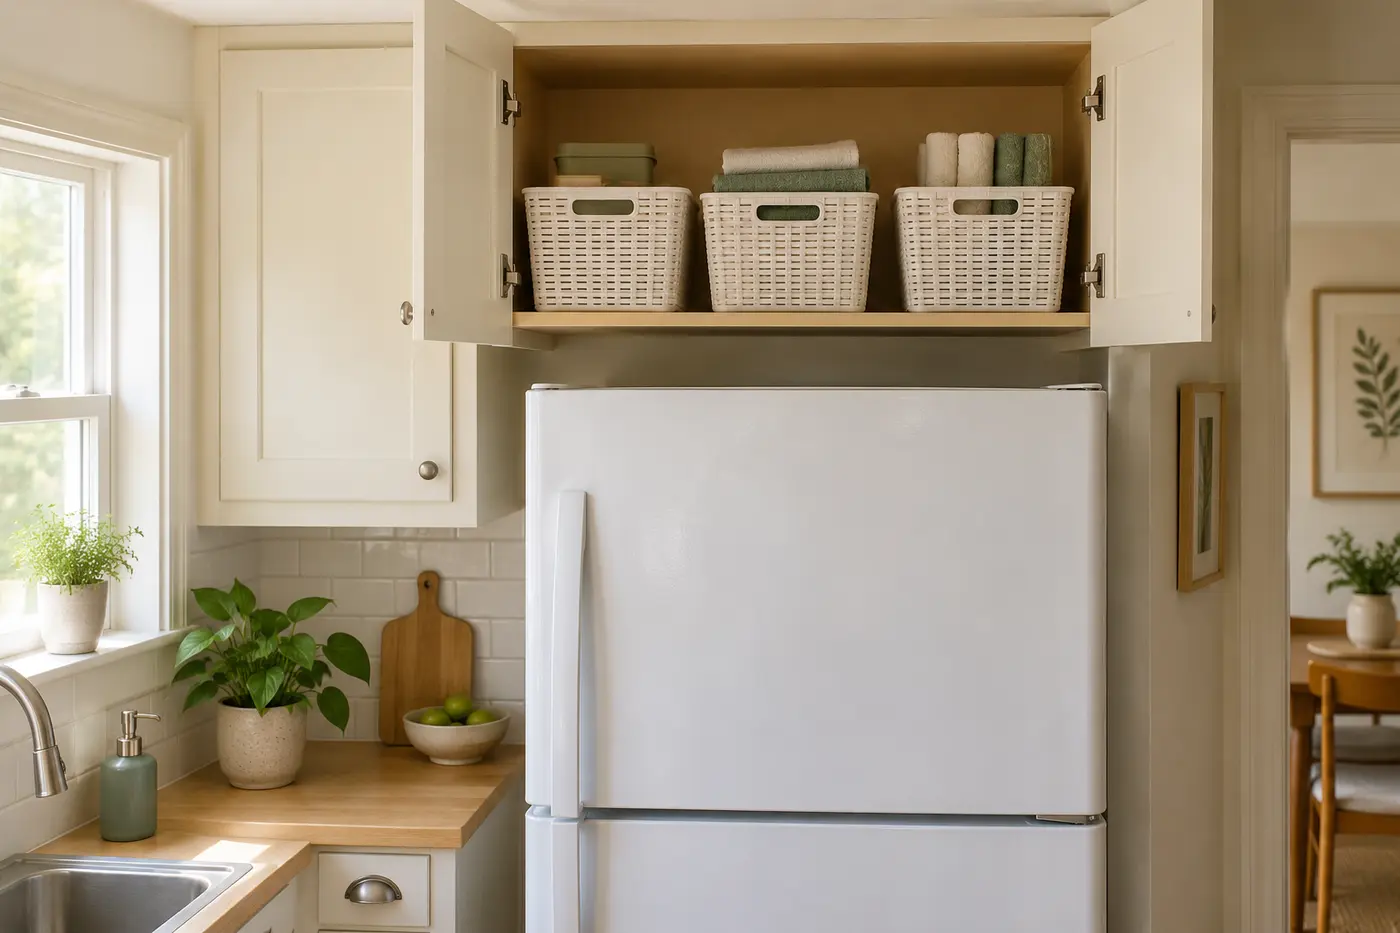
Cabinets above the refrigerator are often difficult for two reasons: they sit beyond comfortable eye level and their doors may be blocked by the depth of the appliance. The space can still be useful, but only when access, ventilation and lifting limits shape the plan.
This guide focuses on above fridge cabinets in small and rental kitchens. For the whole-room layout, begin with the small-kitchen organization guide.
Editorial image note: the photographs in this guide are purpose-created illustrations of the organizing principles described. They are not presented as the author’s home, a client project or proof of a tested result.
In this guide
- 1. Check appliance ventilation and clearances first
- 2. Plan a stable way to reach the cabinet
- 3. Measure the opening and usable depth
- 4. Choose light, infrequently used categories
- 5. Declutter before assigning the high space
- 6. Use one lightweight handled container per group
- 7. Keep the door and hinge path clear
- 8. Label for recognition from below
- 9. Review the cabinet seasonally
- Frequently asked questions
1. Check appliance ventilation and clearances first
Read the refrigerator installation instructions or manufacturer guidance for required space around the appliance. Do not cover vents, fill a ventilation gap or store objects directly on top of the refrigerator unless the manufacturer states that area is suitable. The cabinet interior and the open area around the appliance are different spaces.
The manual decides the clearance
Refrigerator designs vary. Use the instructions for the exact model rather than copying another kitchen’s arrangement.
2. Plan a stable way to reach the cabinet
Open the cabinet and check whether the refrigerator prevents you from standing close to it. Use an appropriate stable step stool on a level floor when needed and follow its instructions. Avoid climbing on counters, chairs or the appliance.
If the cabinet cannot be reached comfortably and safely, use it only for very light items or leave it empty. Storage capacity is not valuable when retrieval creates risk.
3. Measure the opening and usable depth
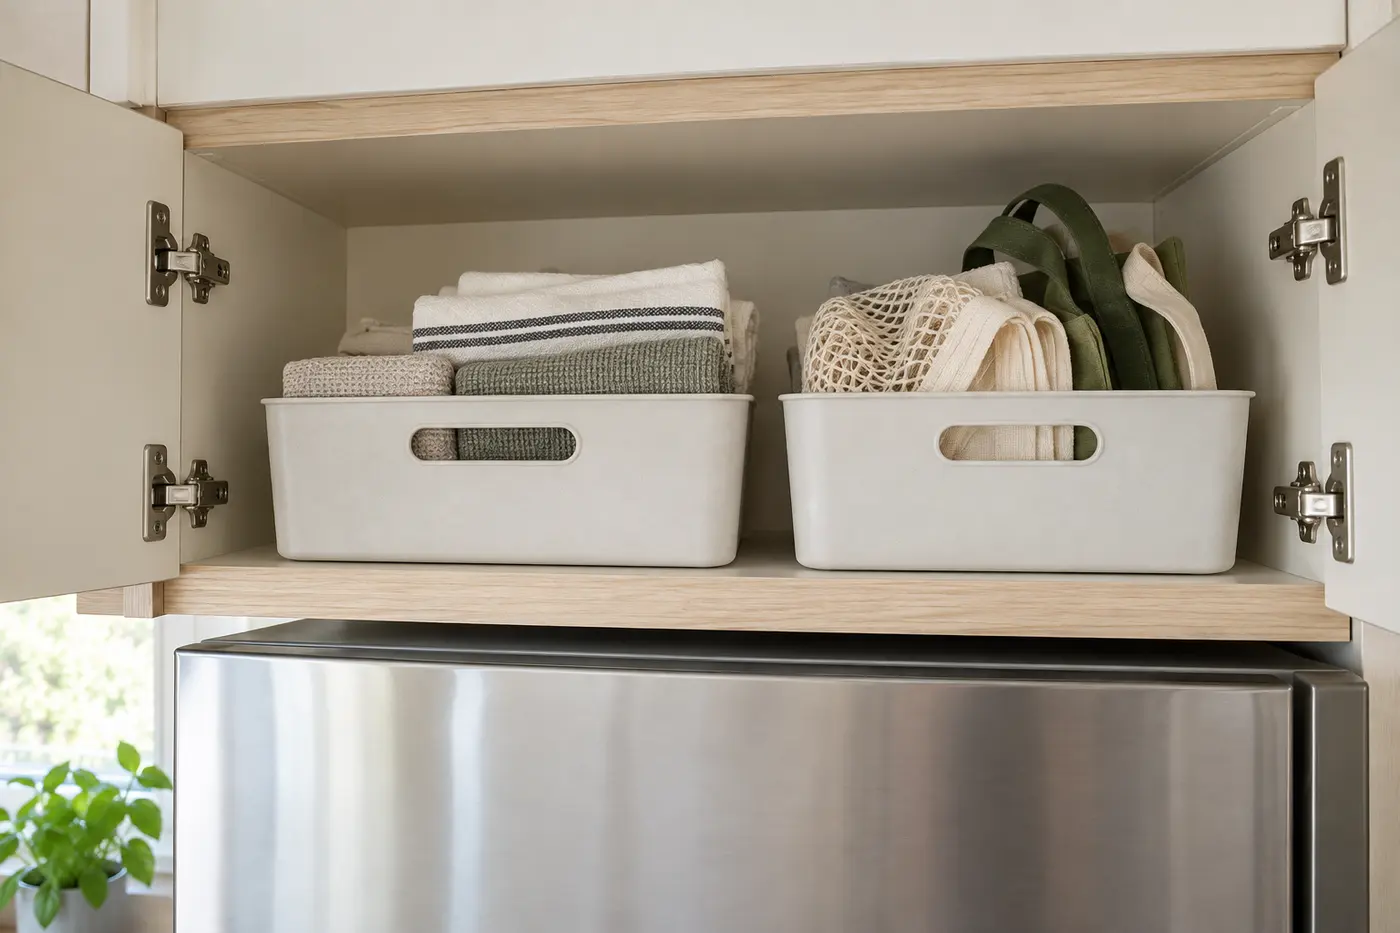
Record the door-opening width and height, interior depth and hinge clearance. Measure from the position where a bin will actually be lifted. A container that fits inside may still be too tall to tilt through the opening or too deep to grasp.
- Opening width between the door and frame
- Interior height below hinges
- Depth you can reach without leaning on the appliance
- Filled weight you can lift with control
- Space needed for a handle and label
4. Choose light, infrequently used categories
Good candidates may include lightweight serving linens, paper goods, spare reusable bags, rarely used plastic pieces or seasonal kitchen accessories. Keep one category per container. Avoid loose objects that can fall forward when the door opens.
Do not use this cabinet for heavy appliances, fragile stacks, frequently needed medicines or anything whose storage label requires conditions the area cannot provide. Heat and airflow around refrigerators vary.
5. Declutter before assigning the high space
High cabinets often preserve items long after their purpose has passed. Use the kitchen-decluttering guide to review duplicates and incomplete sets. Do not spend money organizing items you would not choose to keep at eye level.
6. Use one lightweight handled container per group
A shallow basket or bin can bring the whole category forward. Choose a rigid container that does not flex unpredictably, with a handle you can grasp from the front. Keep the filled bin lighter than your comfortable lifting limit and avoid stacking bins that must be separated overhead.
Clear containers can show contents, while opaque bins reduce visual clutter. Either works if the label is visible from below and the container is easy to clean.
7. Keep the door and hinge path clear
Place bins far enough back that they do not press against the door. Check concealed hinges and any soft-close hardware. Open and close both doors slowly after loading the cabinet. If the door cannot move freely, reduce the bin size or contents.
8. Label for recognition from below
Put a short label on the lower front edge of each bin. Use broad categories such as picnic supplies or spare linens. A label prevents repeated lifting just to check what is inside and makes it easier for everyone to return the group.
9. Review the cabinet seasonally
High storage needs a scheduled check because forgotten items do not create daily friction. At the change of a season, remove one bin at a time, wipe the shelf and confirm that the category still belongs there. Keep the refrigerator clearance visible while you work.
- Keep every bin light enough to control
- Return each group to the same labelled position
- Remove items that migrate to easier cabinets
- Recheck ventilation guidance when replacing the appliance
Frequently asked questions
What should I put in cabinets above the fridge?
Choose lightweight, infrequently used and non-fragile categories that can be removed in one controlled bin, after checking the refrigerator's required clearances.
Is it safe to store things above a refrigerator?
Use the enclosed cabinet only if it does not interfere with manufacturer-required ventilation or access. Do not block vents or assume the open top of the appliance is a storage shelf.
How do I reach an above-fridge cabinet?
Use an appropriate stable step stool on a level floor and follow its instructions. If safe access is still difficult, keep the cabinet lightly filled or unused.
Can food be stored in a cabinet above the refrigerator?
Temperature conditions vary by appliance and enclosure. Follow the food label and appliance guidance; choose another cabinet when the required storage conditions are uncertain.